Are you looking for quick and easy methods to transfer your photos from iPhone to Chromebook safely? If yes, you are at the correct place. Follow this guide on “How to transfer photos from iPhone to Chromebook?” to effortlessly move your precious memories and enjoy them on your Chromebook in no time just by following some easy steps.
You can transfer photos from iPhone to Chromebook using various methods. AirDroid Personal allows wireless transfer, Google Drive & OneDrive enable cloud storage access, ChromeOS Files support direct USB transfer, FoneTool ensures easy migration, and iCloud syncs seamlessly. At the same time, Google Photos offers effortless online backup and access across devices.
Reading the article “How to transfer photos from iPhone to Chromebook?” simplifies transferring iPhone photos to Chromebook, giving clear steps for a smooth transfer. It keeps memories safe, avoids confusion, and lets you pick the best method easily.
Methods to Transfer Photos From iPhone to Chromebook
So, how to transfer photos from iPhone to Chromebook? Let’s have a look at all the methods that we can follow.
Method 1: Use Wireless Methods like AirDroid Personal
AirDroid Personal helps organize and transfer photos easily. Airdroid is also a great option to transfer photos from PC To iPhone without iTunes.
To start a speedy and secure transfer:
- Begin by installing AirDroid Personal on your iPhone and Chromebook. Use your AirDroid account to log in on both devices and ensure that both gadgets are connected to the identical Wi-Fi network.

- Open the app on your iPhone, navigate to “My Devices,” and establish a wireless connection by selecting your Chromebook.
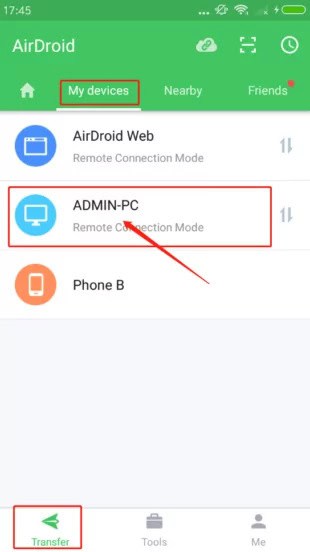
- Proceed to the “File Transfer” section, click on the attachment icon, opt for “Files,” pick the desired photos, and initiate the transfer by tapping “Send” when prepared.
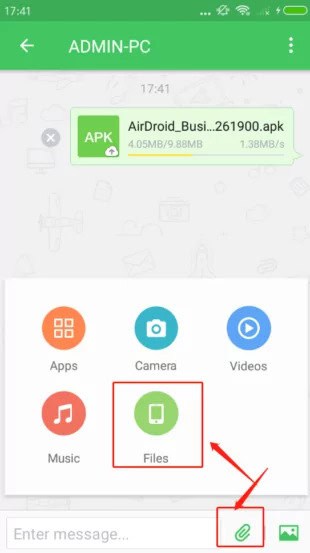
You can check out the pictures on your desktop app and download them easily from there.
Method 2: Use Google Drive
Google Drive is a cloud-based option to help you efficiently transfer your photos. Further, discover how to save Google Drive Photos to iPhone effortlessly.
Now, follow these steps:
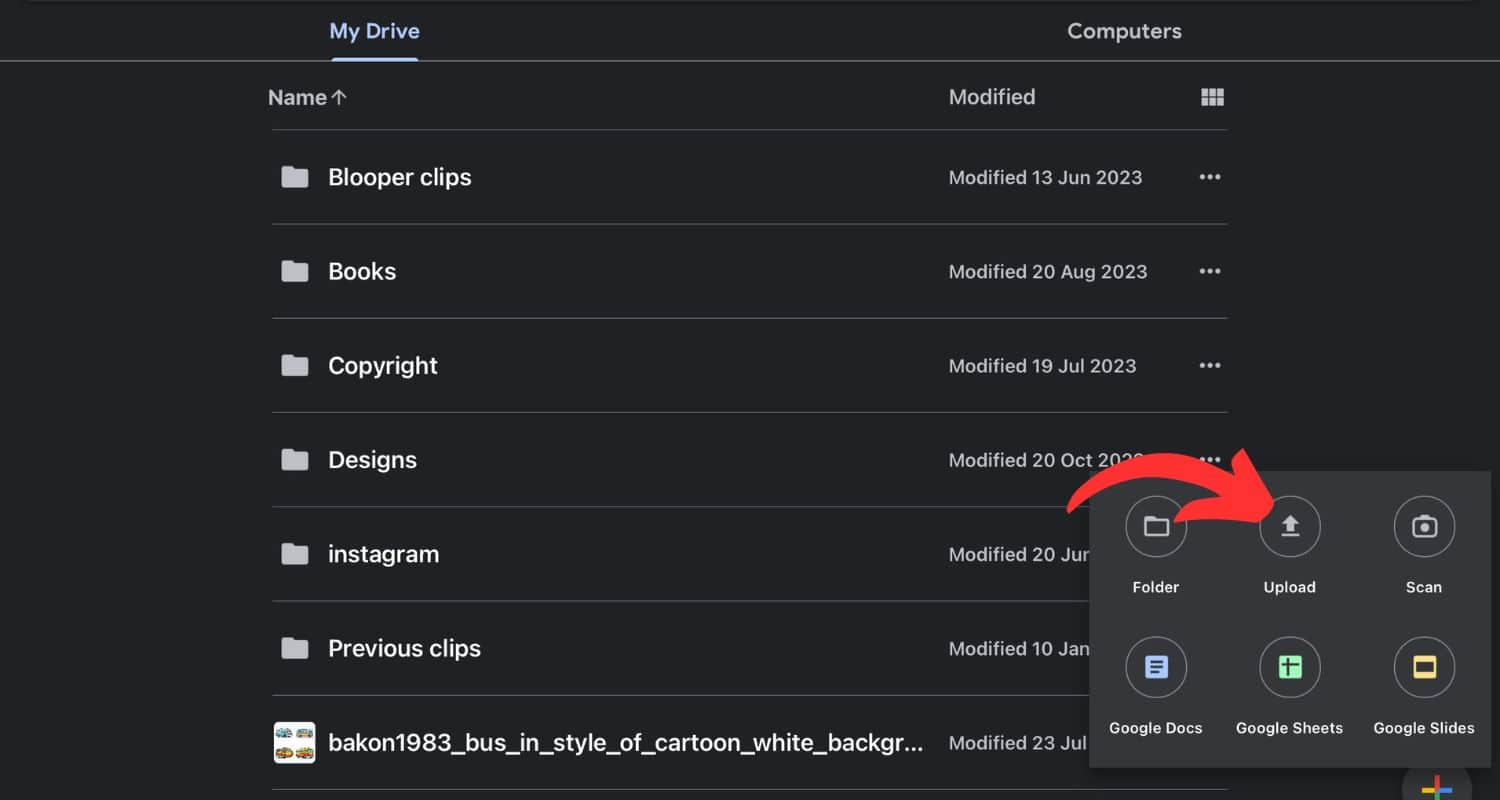
- Install the Google Drive app on your iPhone and sign in.
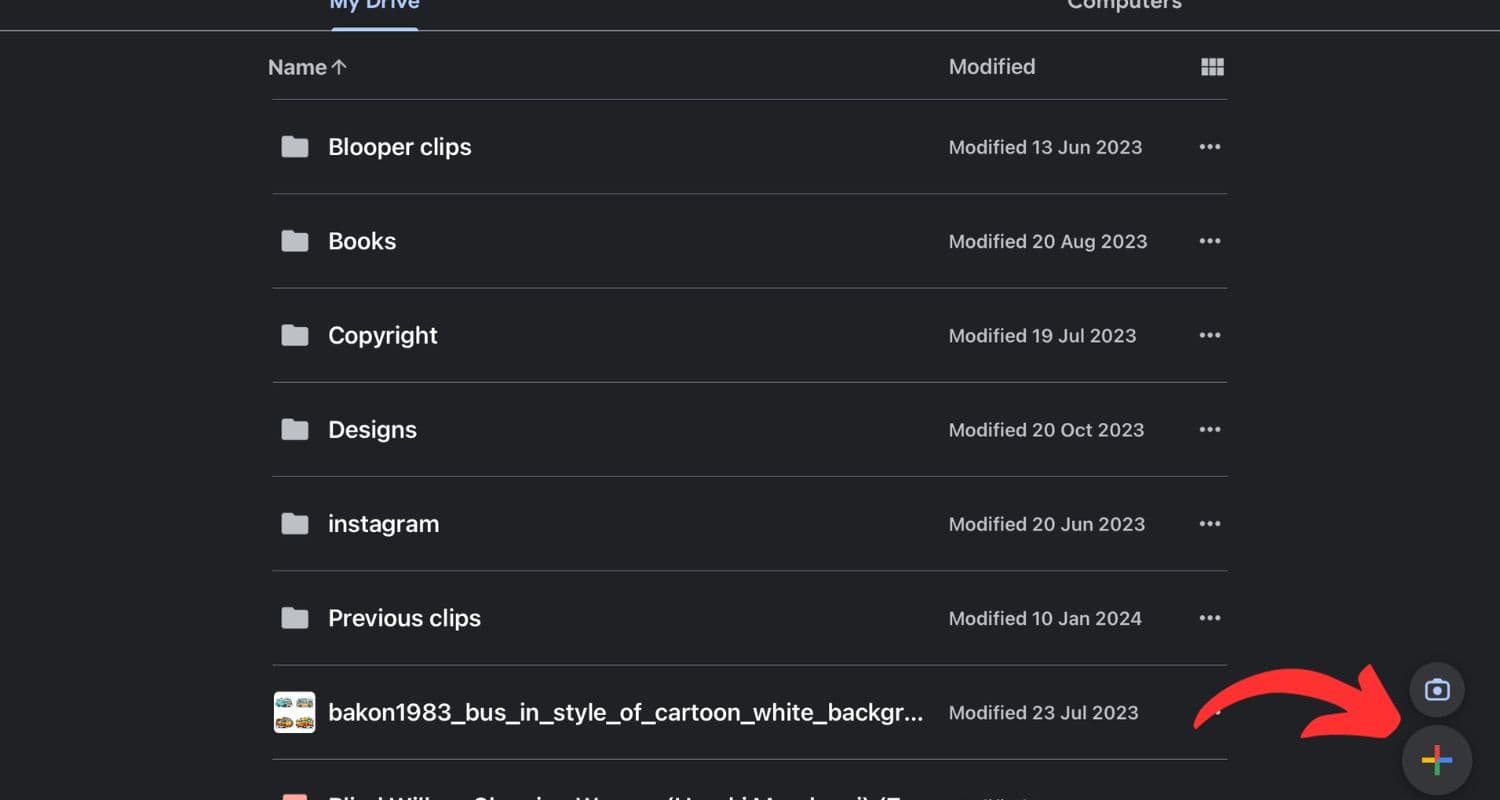
- Tap the “+” symbol, then pick “Upload.”
- Select “Photos and Videos,” choose your desired photos, and tap “Upload.”
- Access drive.google.com on your Chromebook and log in using the same Google account.
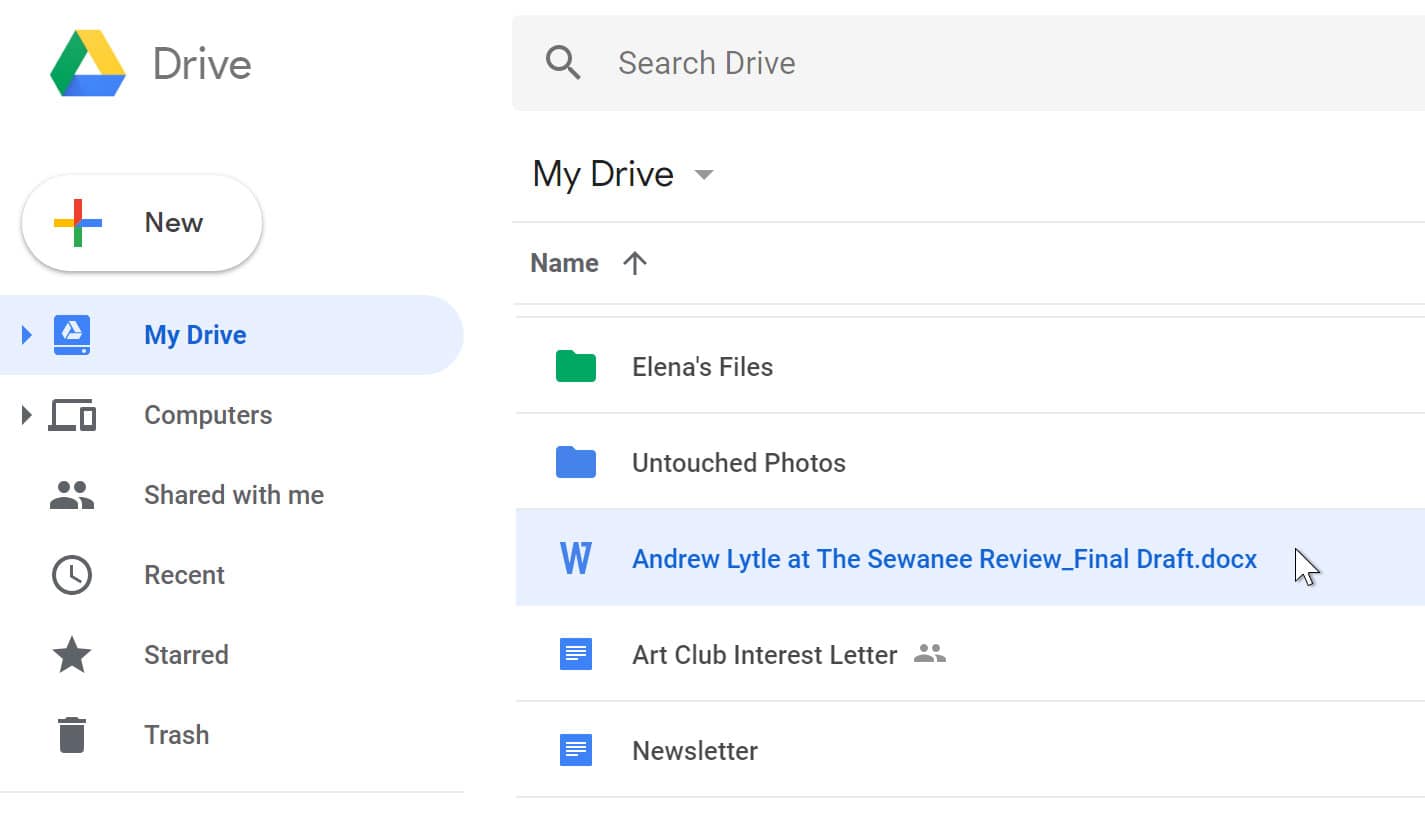
And that’s it! You can transfer the pictures to your Mac. If unsuccessful, explore alternative methods given below.
Method 3: Use the ChromeOS Files App
Transferring photos from your iPhone to a Chromebook through the ChromeOS Files app follows these simple steps:
1. Link iPhone to Chromebook using a USB cable.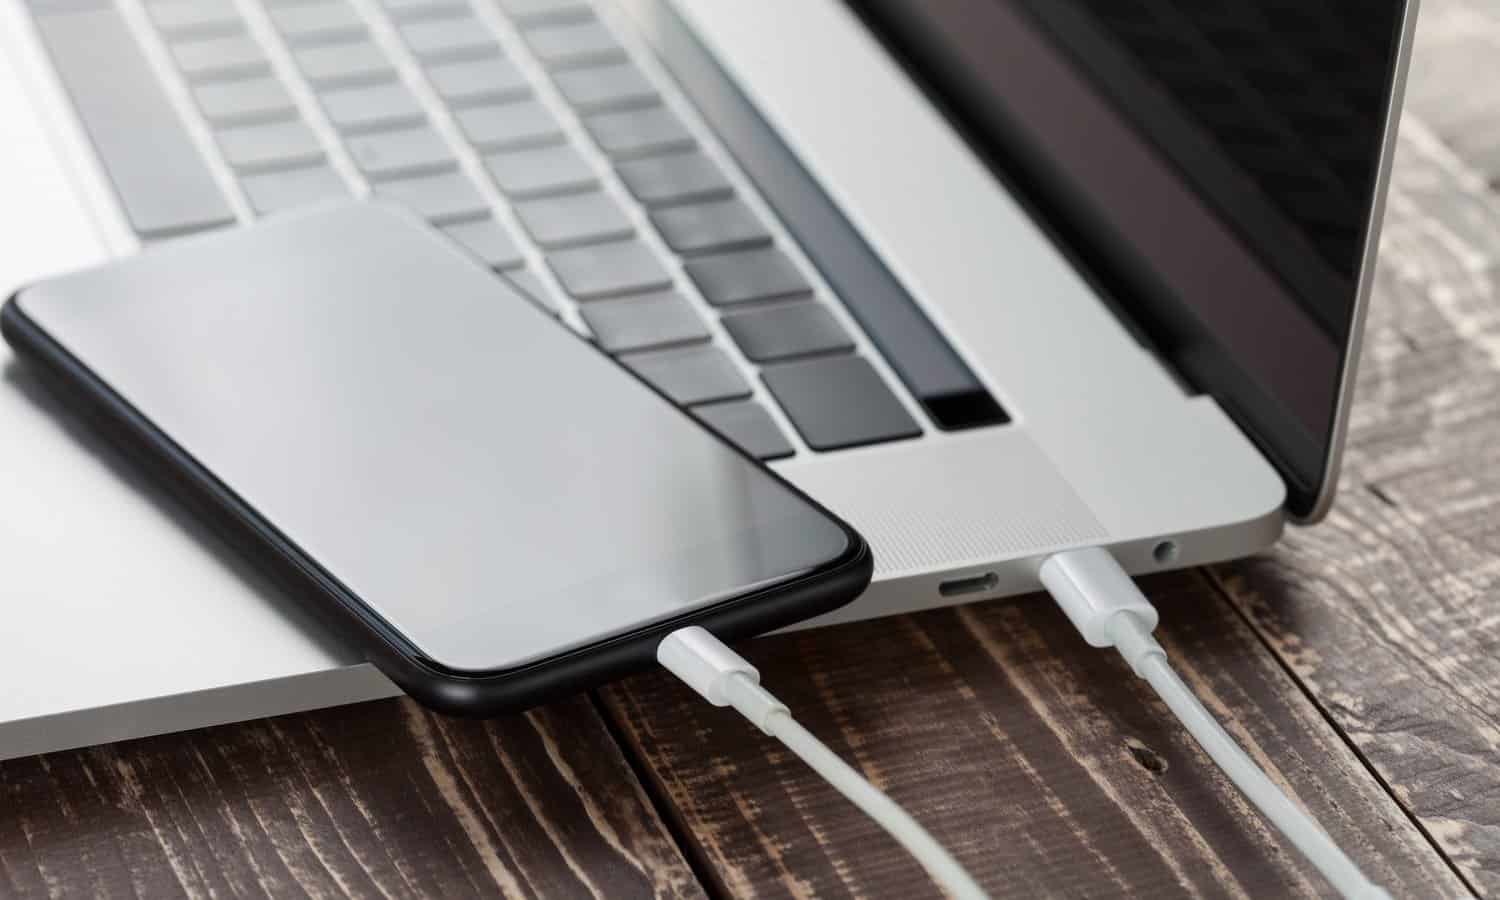
2. Ensure your unlocked iPhone trusts the connected computer by tapping “Trust” or “Allow” if prompted.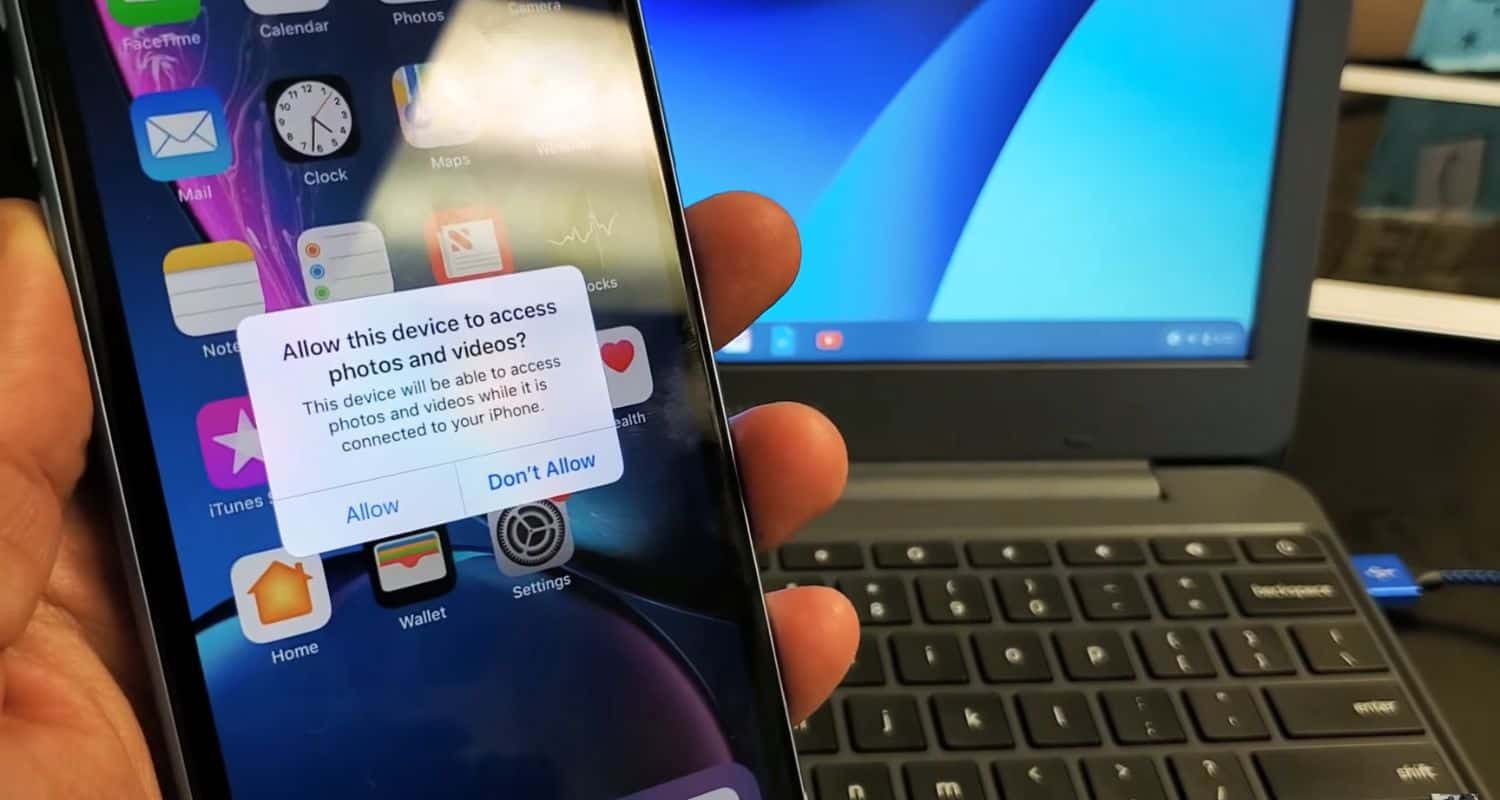
3. Launch the Files app on your Chromebook by opening the “Files” app.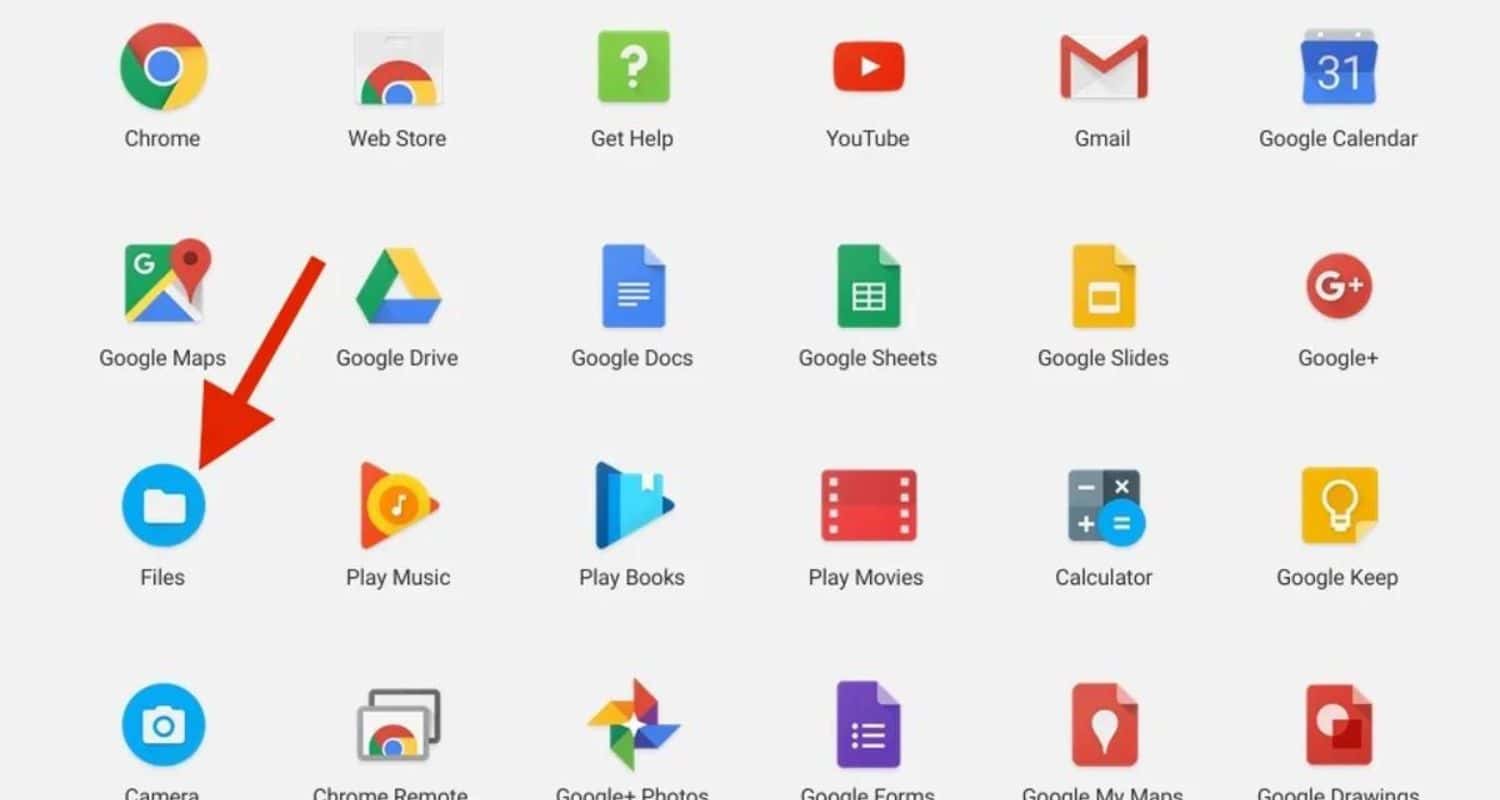
4. Locate your iPhone in the Files app sidebar under “Devices” or “Other Devices.” Look for the folder with your photos, often named “DCIM” or “Photos.”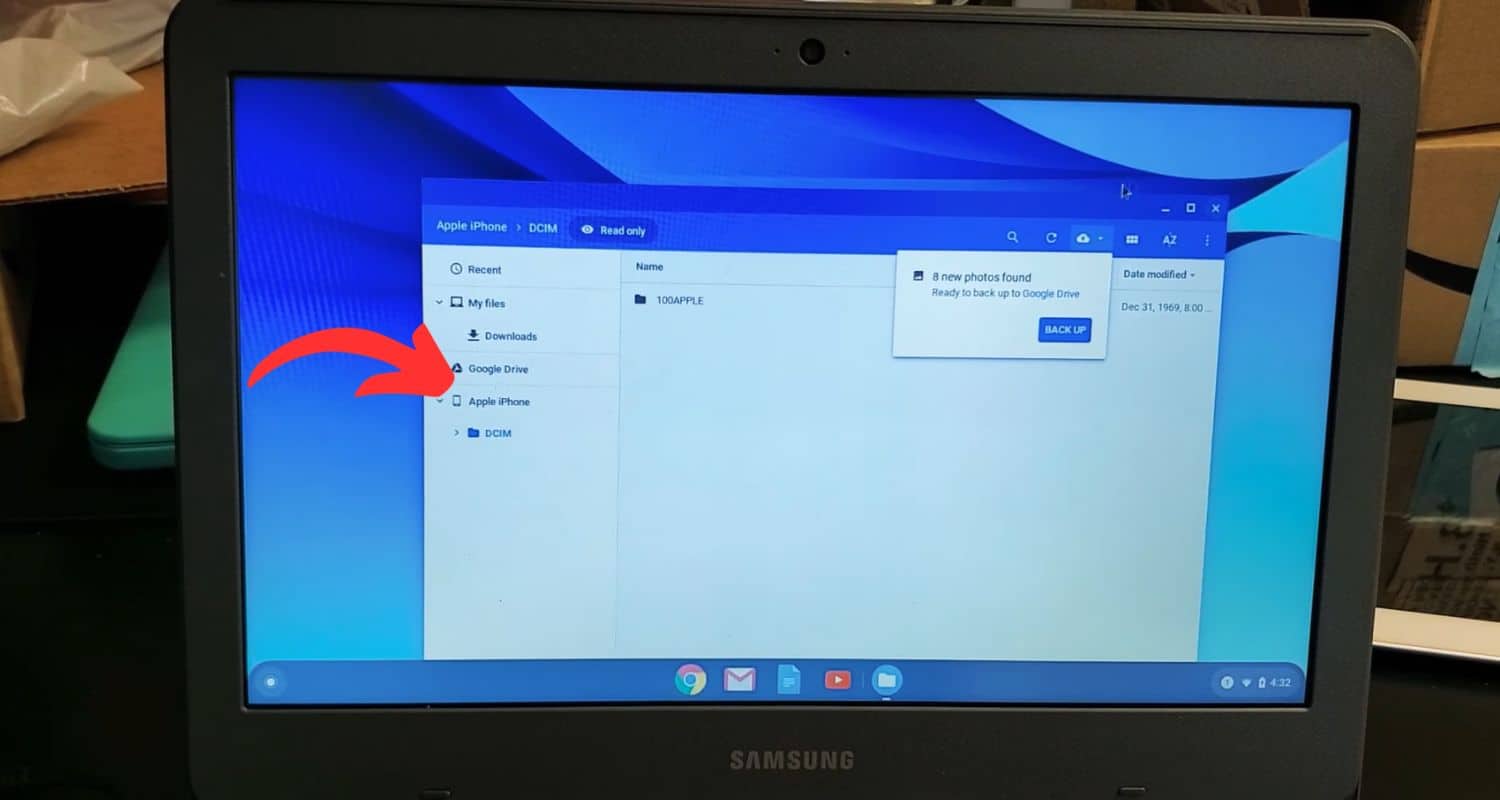
5. Choose the desired photos and move them to a Chromebook folder by dragging or copying them. Remember that you can only drag and drop the files under the “My Files” option, which basically denotes the hard drive of the Chromebook. Transfer time depends on photo quantity and size. Once completed, your iPhone photos will be on the Chromebook.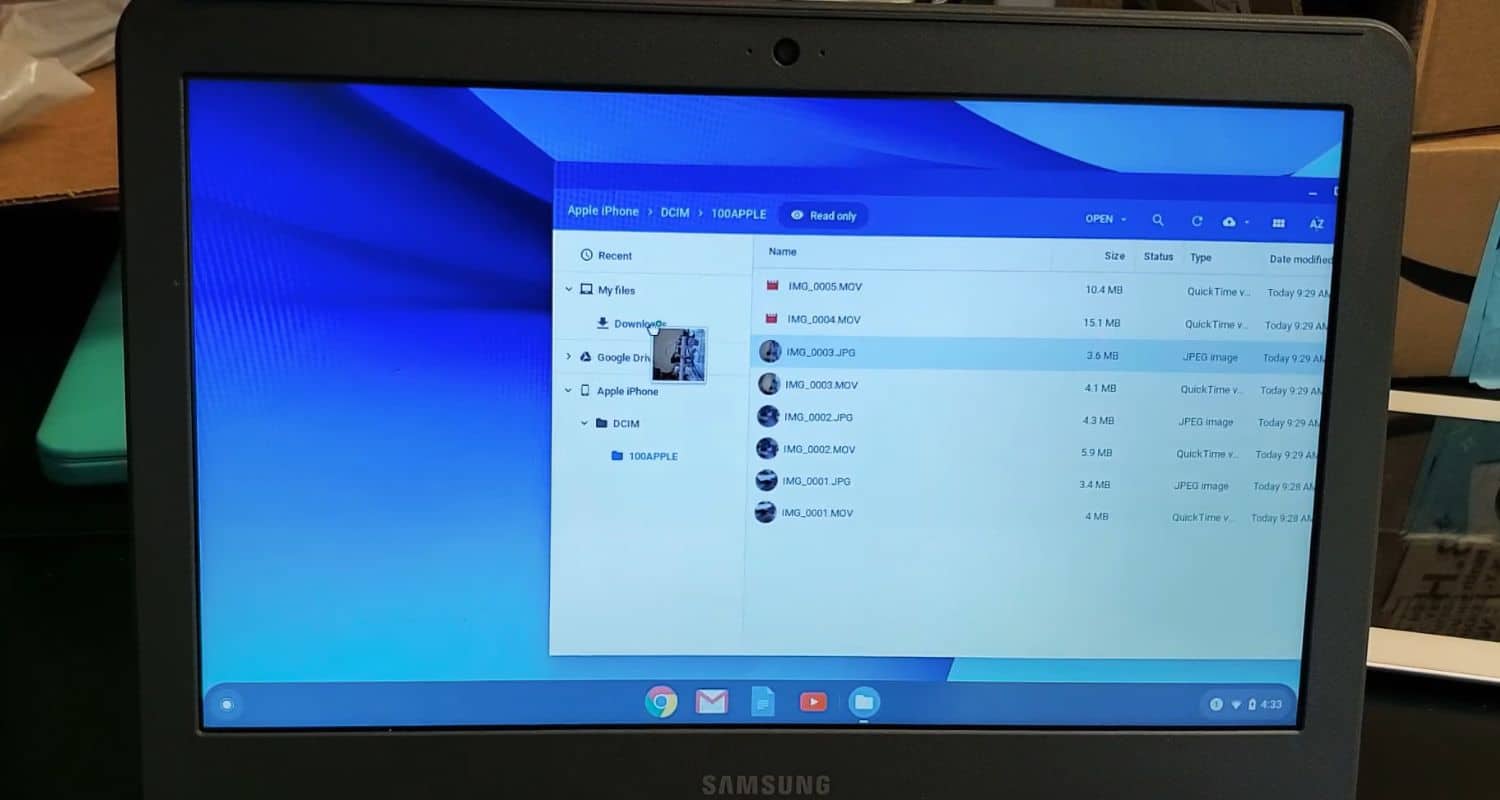
Remember, while the ChromeOS Files app is handy for device file access, certain iOS restrictions may limit transferring or viewing specific file types or photos from particular apps.
See Also: How To Drag And Drop On Chromebook? Easy Guide
Method 4: By FoneTool
You can also use a third-party tool called FoneTool to transfer your photos from your iPhone to your Chromebook easily.
- Download Parallels Desktop for ChromeOS as FoneTool needs a Windows OS.
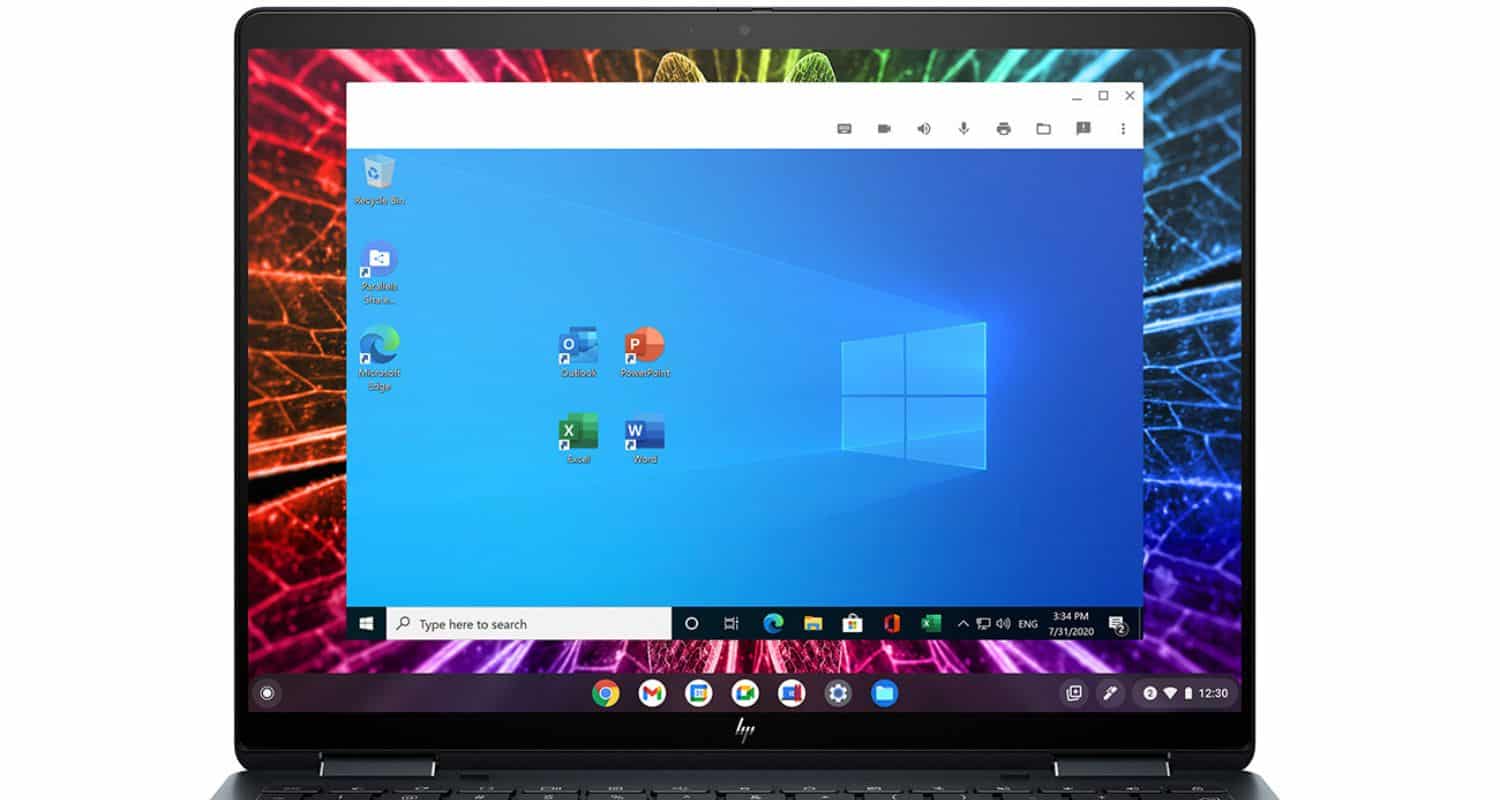
- Connect your iPhone to the Chromebook using a USB cable.

- When prompted on your iPhone, tap “Trust This Computer” for FoneTool access.

3. Open FoneTool and locate and select “Phone Transfer” on the Chromebook’s main screen.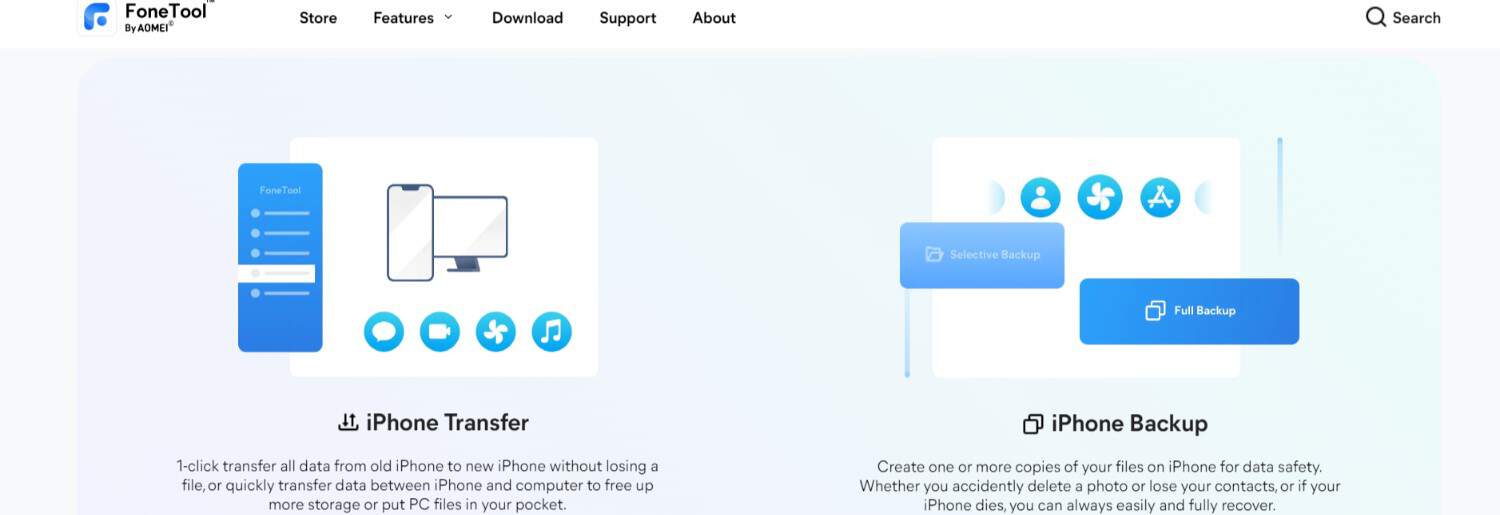
4. Start the transfer by choosing “iPhone to PC” and clicking “Start Transfer.”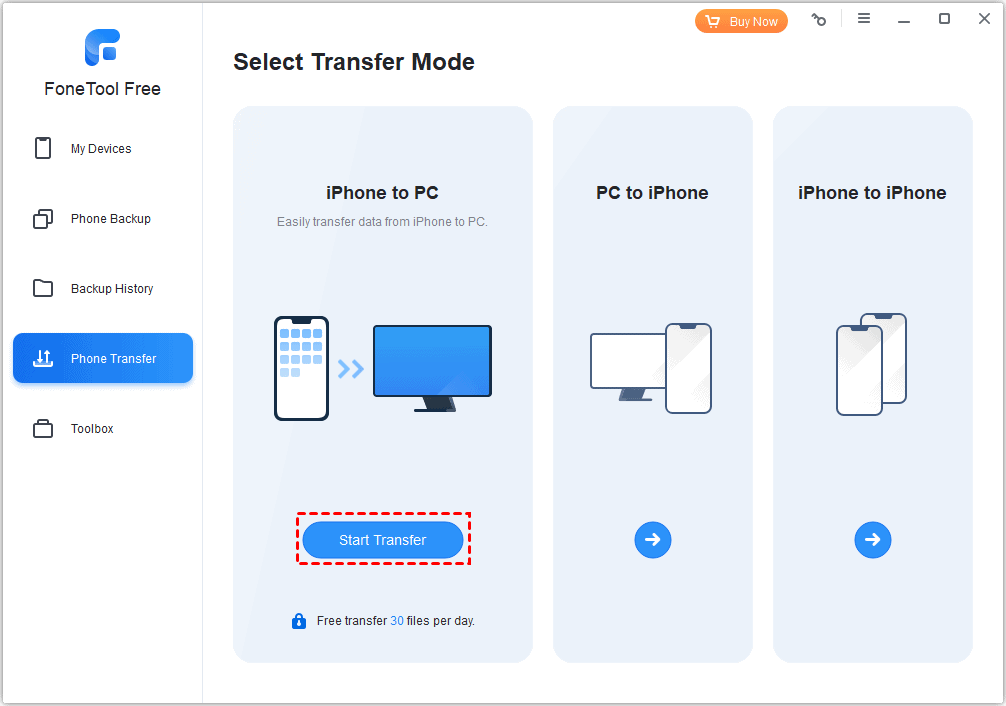
5. Choose Content to Transfer using the “Plus” icon to focus only on photos. Check the “Photos” box, uncheck other items, and confirm by pressing “OK.” Adjust transfer settings to specify the destination folder.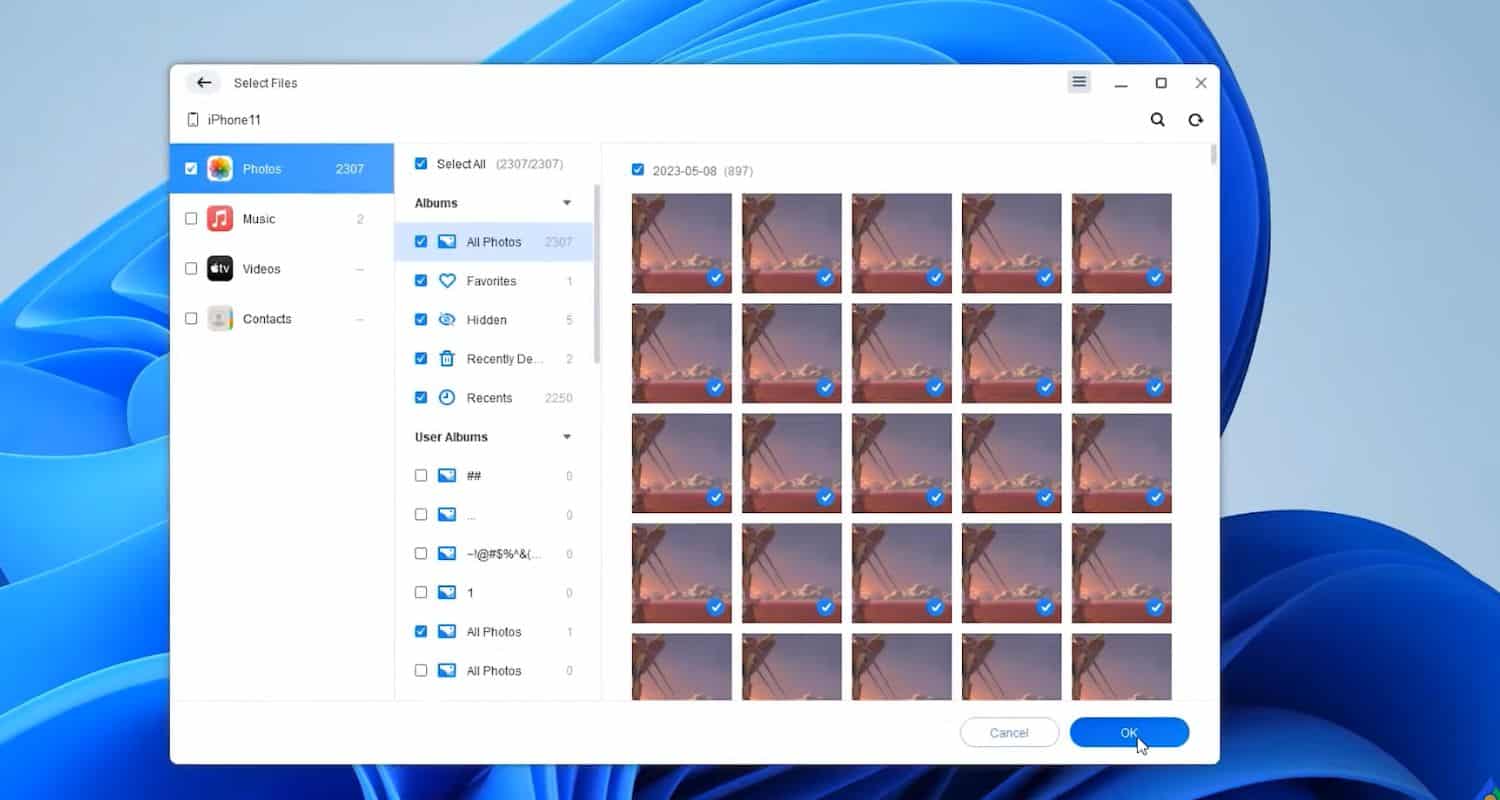
6. Click “Start Transfer” to initiate the process. Your images will swiftly move to the specified location.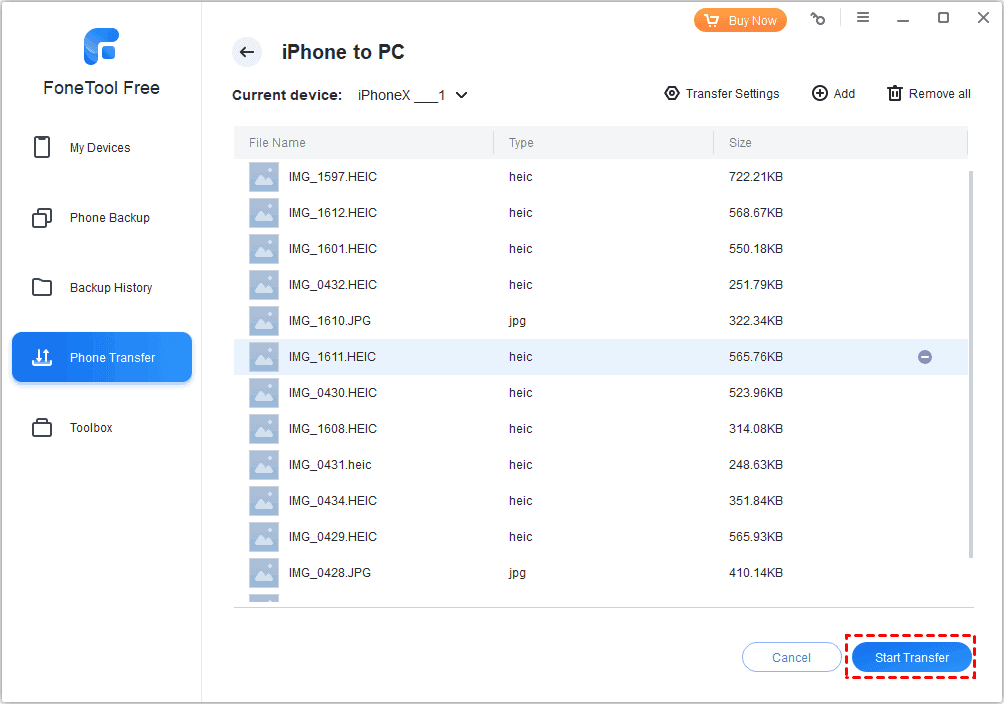
The transfer will start, swiftly moving your images as selected.
Method 5: Use iCloud
Apple’s iCloud, their cloud service, ensures seamless photo transfers. To make sure everything goes smoothly, just follow these steps:
-
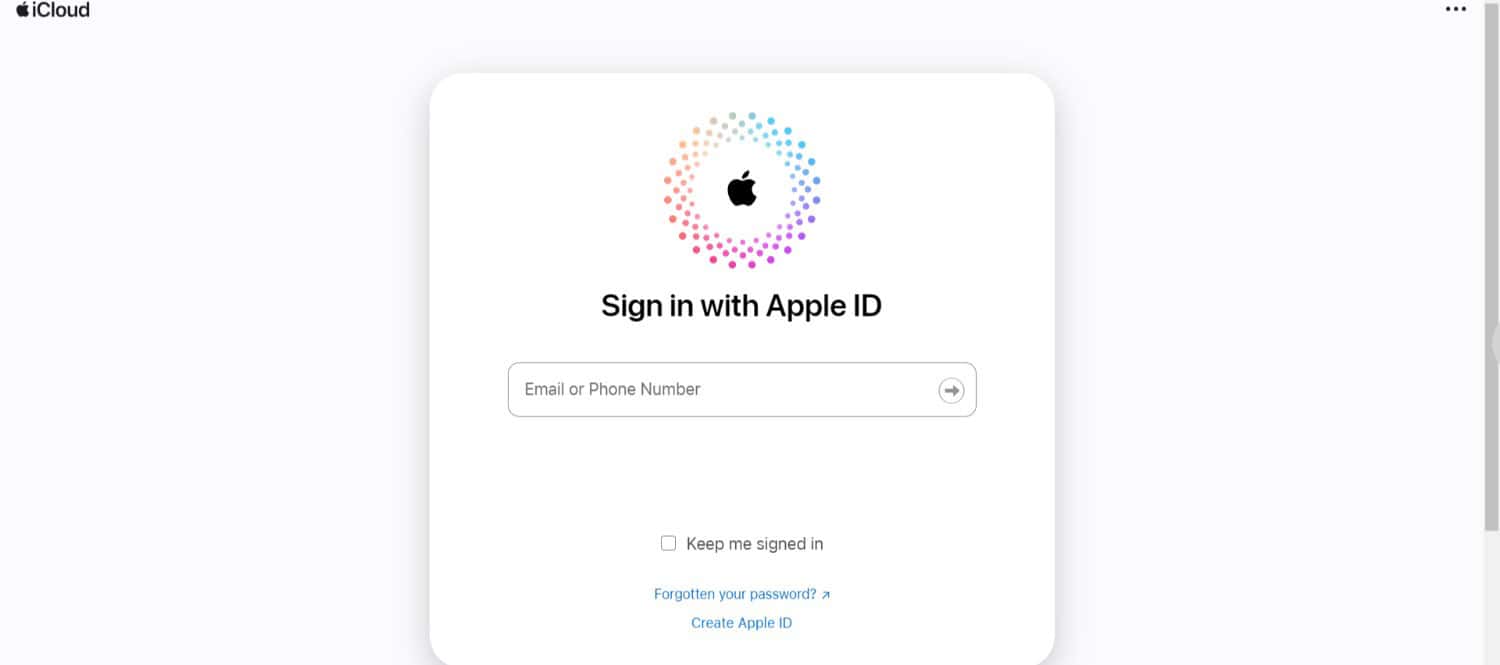
- Access iCloud on Chrome by opening the Chrome browser on your Chromebook and typing in icloud.com.

- Sign in using your Apple ID credentials.
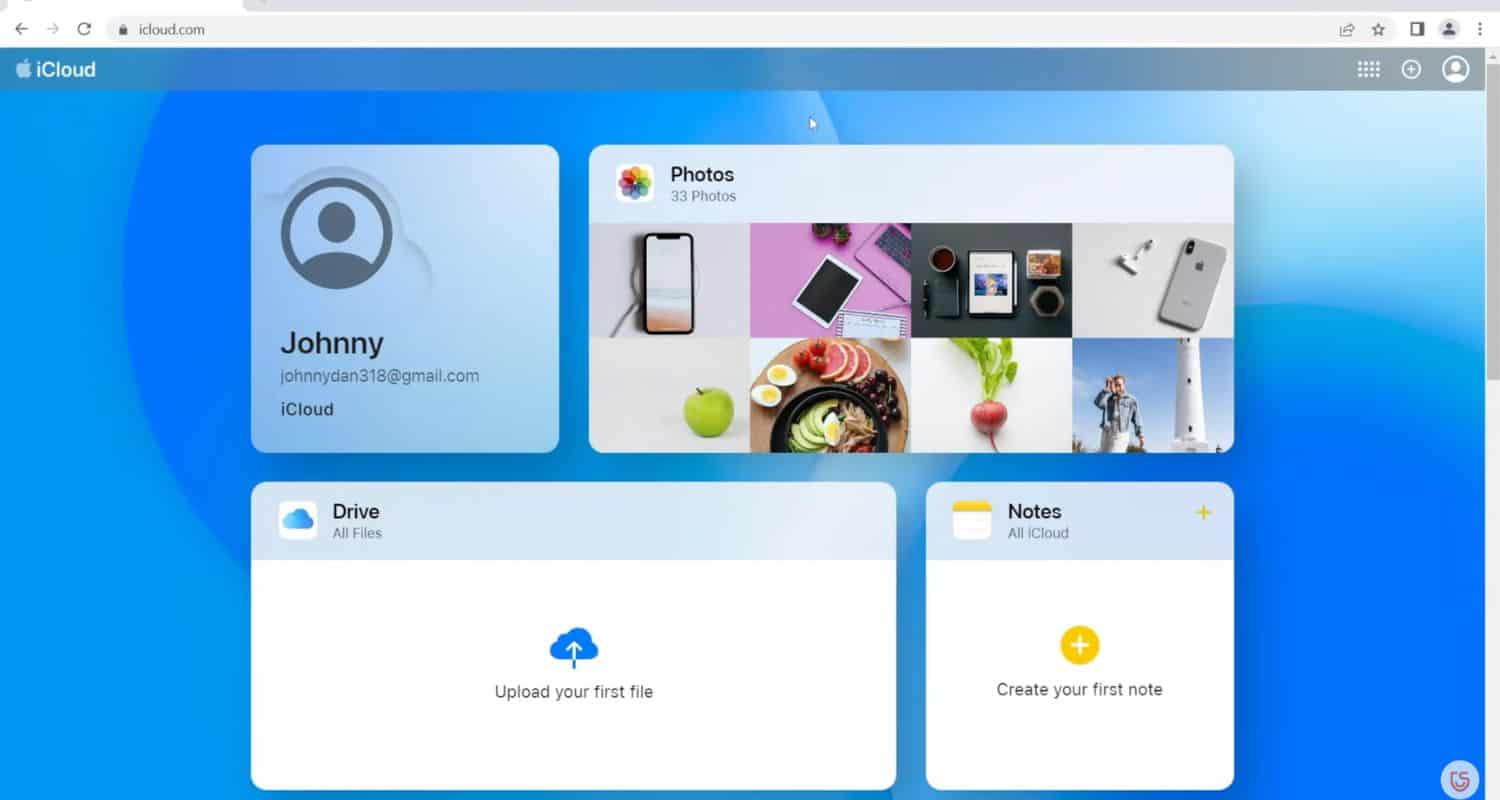
- Once logged in, look for and click on the “Photos” icon within iCloud.
- You’ll see your iCloud Photos collection. Click on the ones you want to transfer to select them.
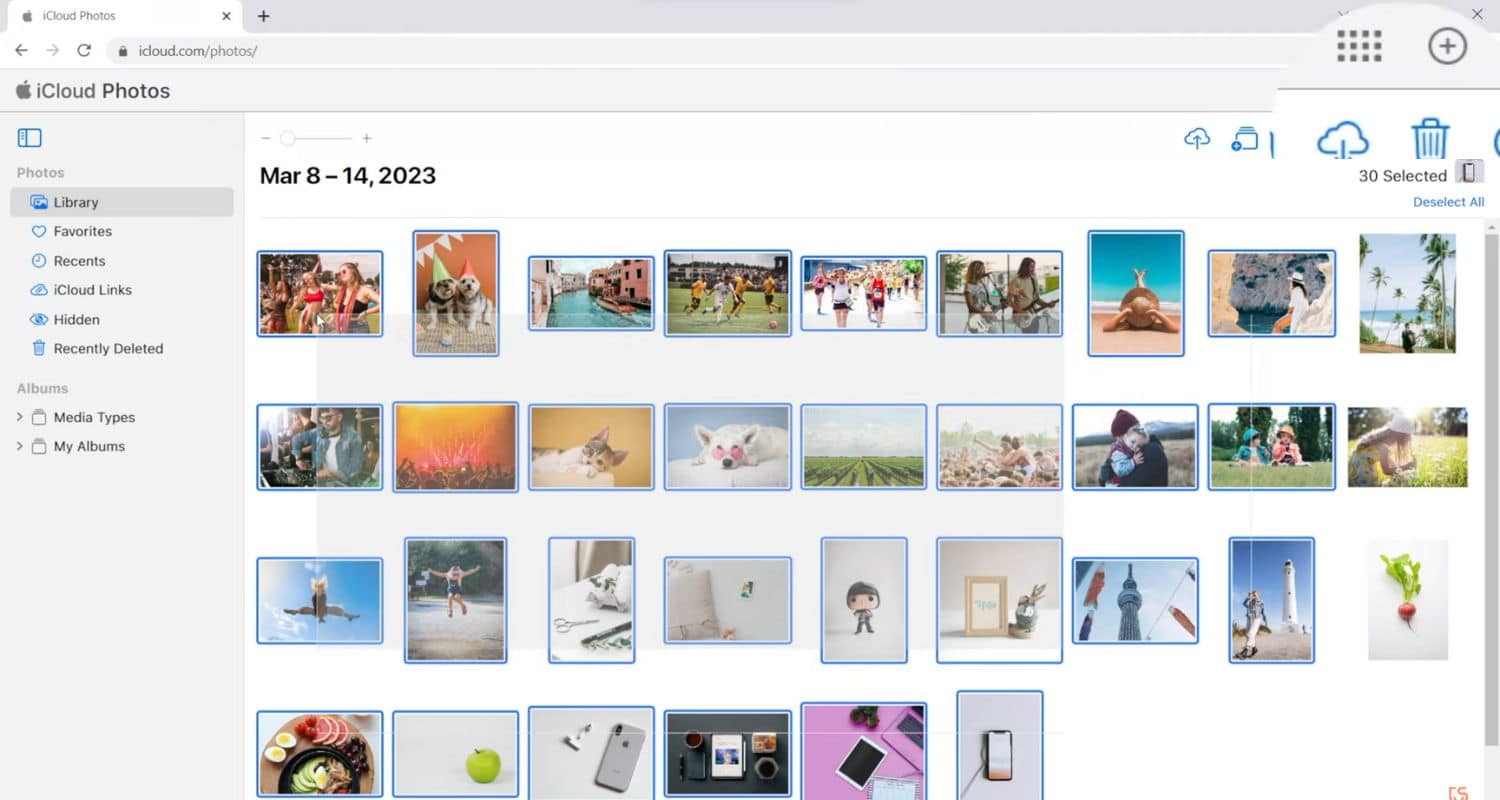
- Once you’ve selected the photos, click the download icon (it often looks like a cloud with a downward arrow). This will start downloading and saving the chosen photos directly to your Chromebook.

- Access iCloud on Chrome by opening the Chrome browser on your Chromebook and typing in icloud.com.
Ensure your iCloud isn’t disabled; otherwise, you may question why your photos disappeared from your iPhone, as a disabled iCloud causes photo disappearance.
Method 6: Using OneDrive
Here are the steps to follow.
On iPhone:
- Go to the App Store and download the OneDrive app on your iPhone.
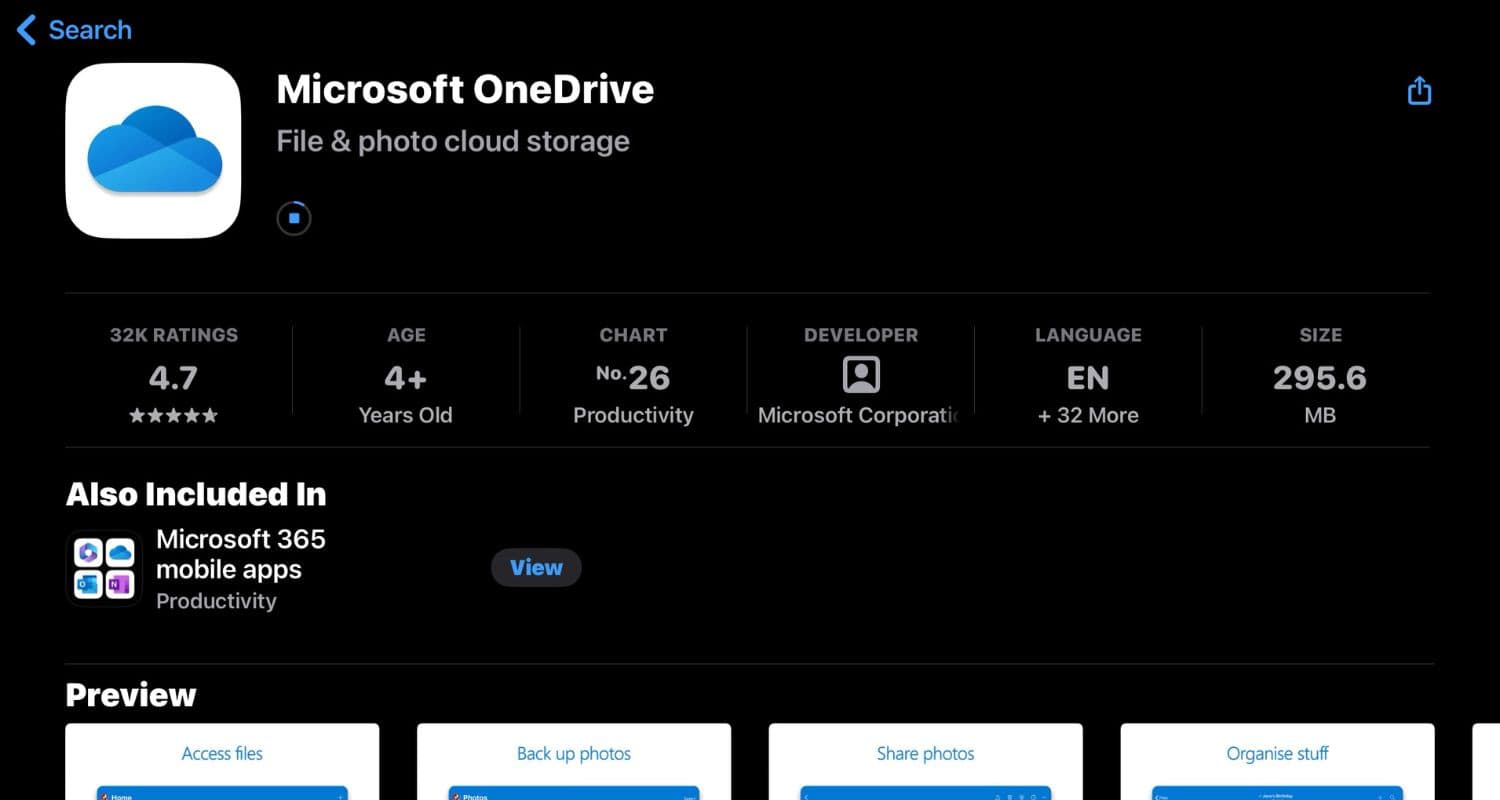
- Open the OneDrive app, sign in with your account credentials, or create a new account if you don’t have one.

- Use the OneDrive app to upload the desired photos from your iPhone to your OneDrive storage.
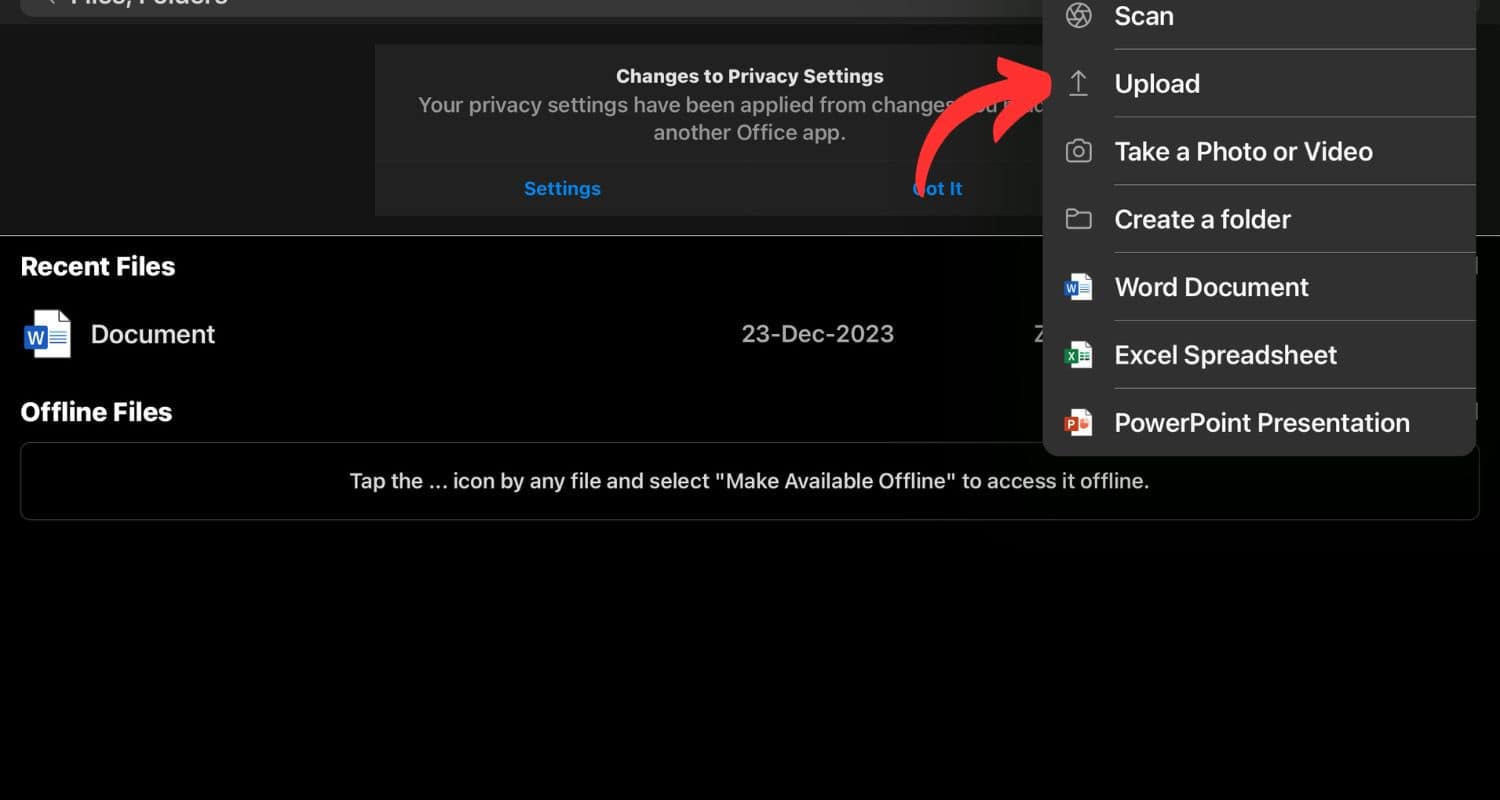
On Chromebook:
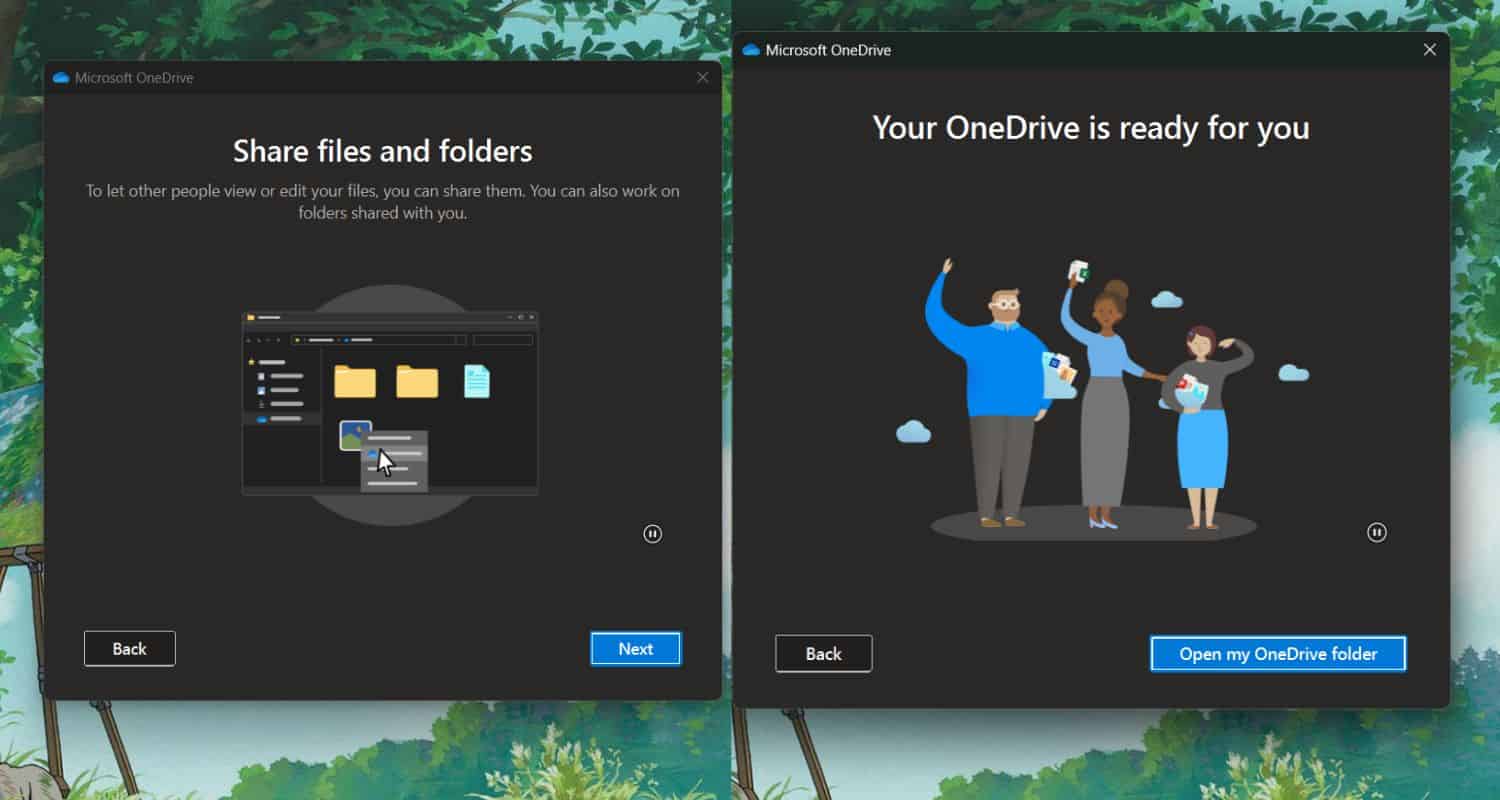
- If you’ve installed the OneDrive app on your Chromebook, open it.
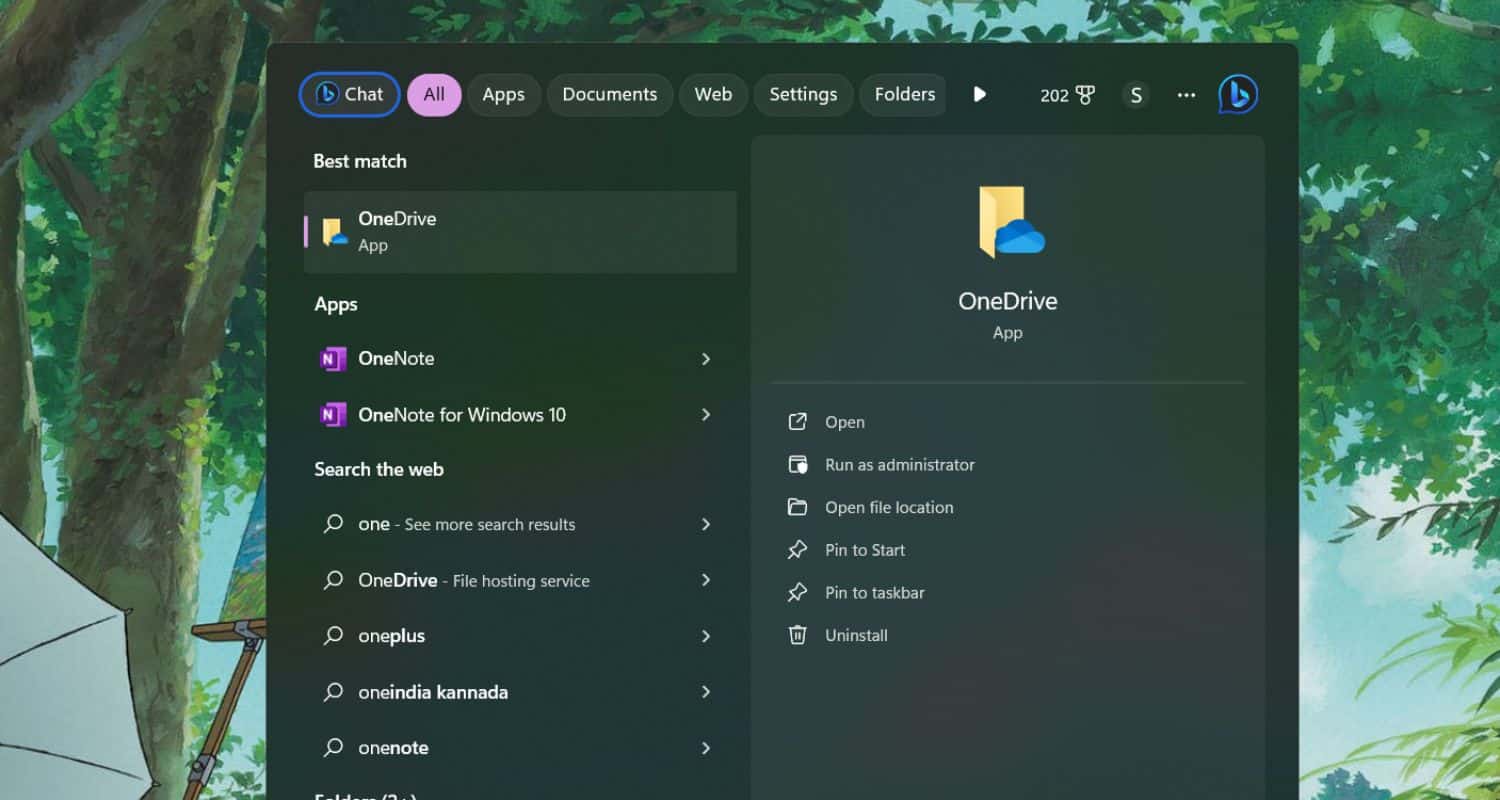
- Sign in to your OneDrive account on the web browser or the app.
- Find and select the uploaded photos within the OneDrive interface.
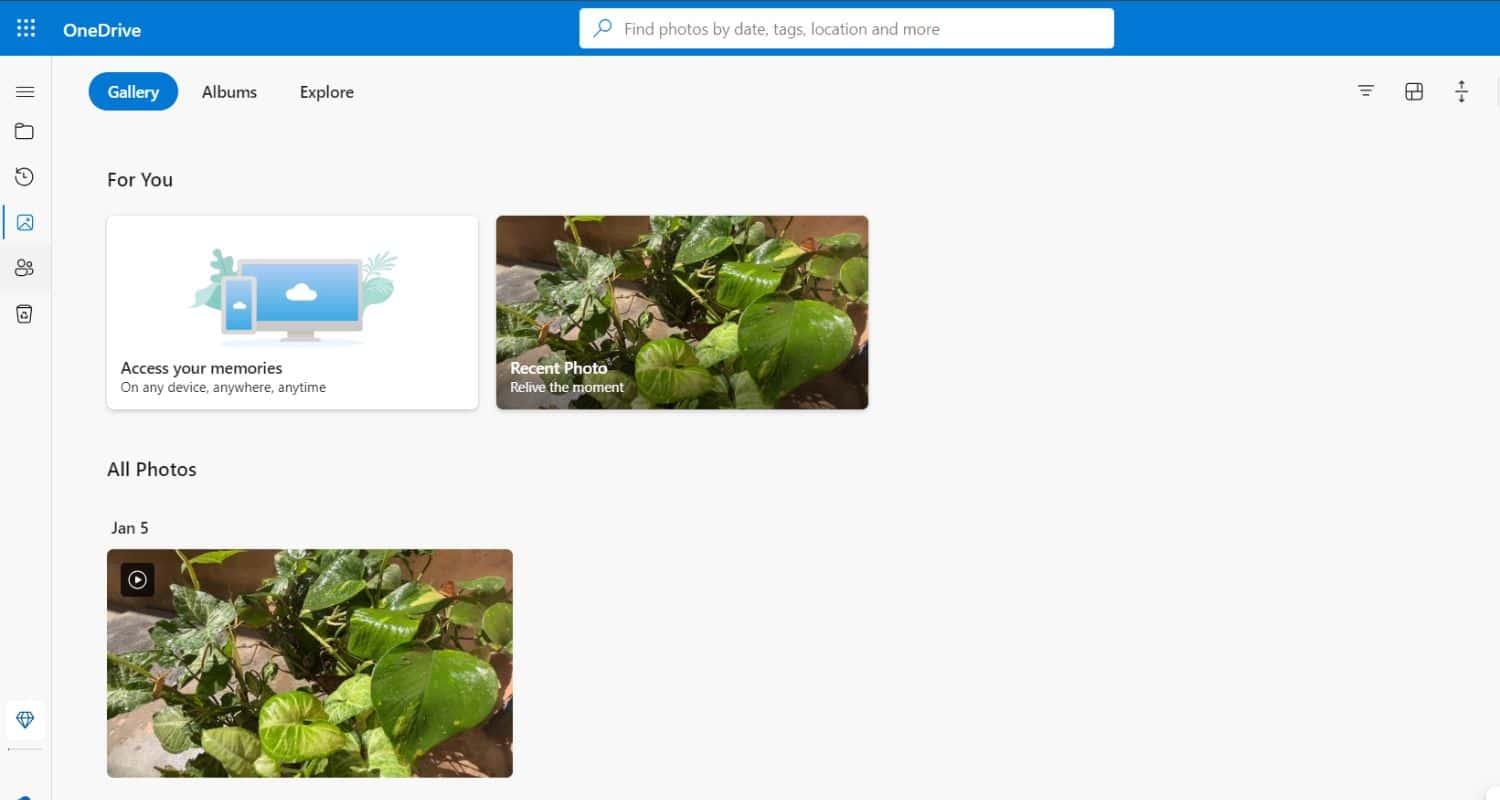
- Once located, download the photos to your Chromebook’s local storage from OneDrive.

Talking about Onedrive, Both Google Photos and OneDrive boast large user bases. Comparing Google Photos versus OneDrive assists users in determining the superior performer between the two.
Method 7: Using Google Photos
Here are the steps to follow.
On iPhone:
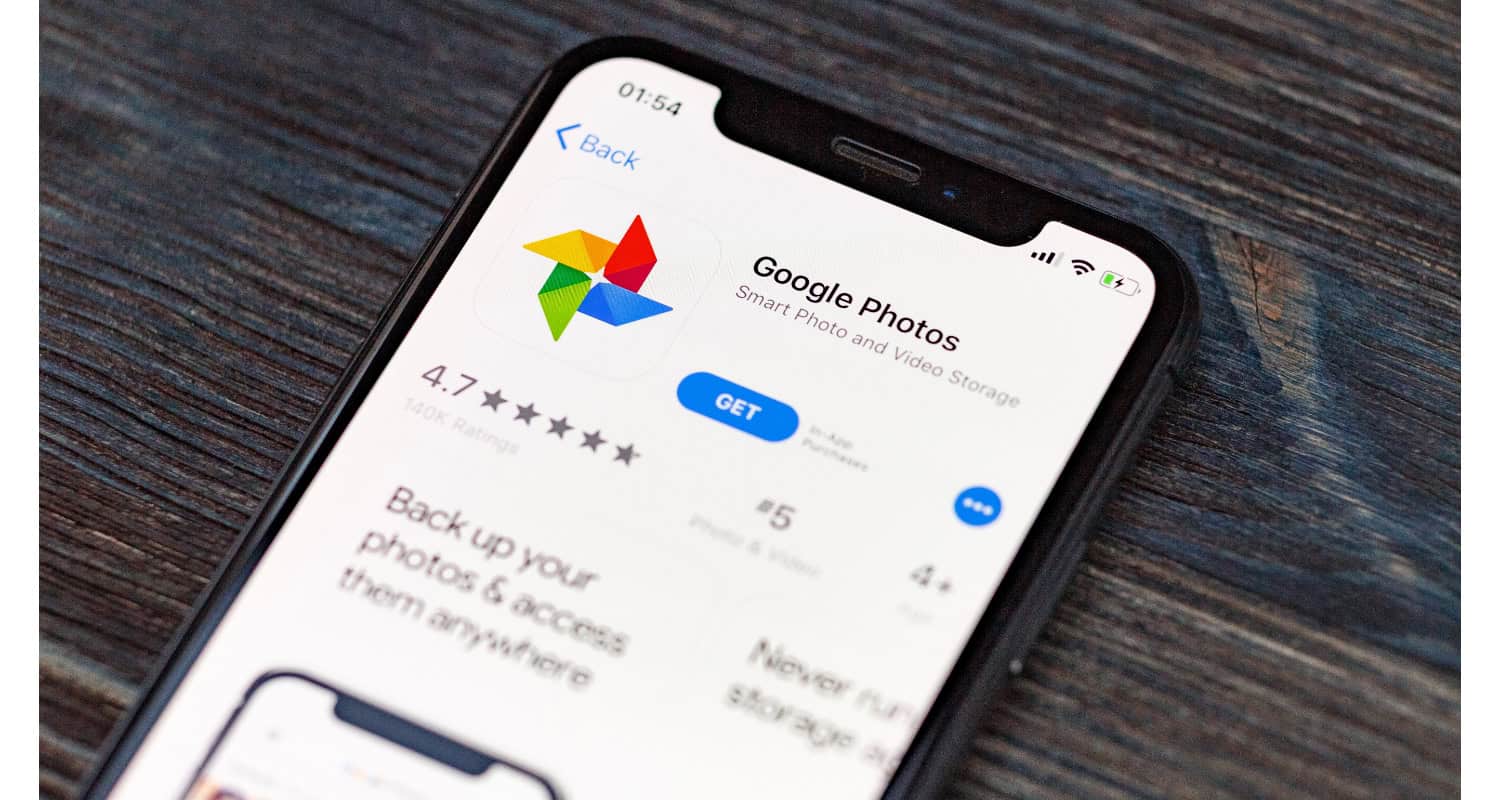
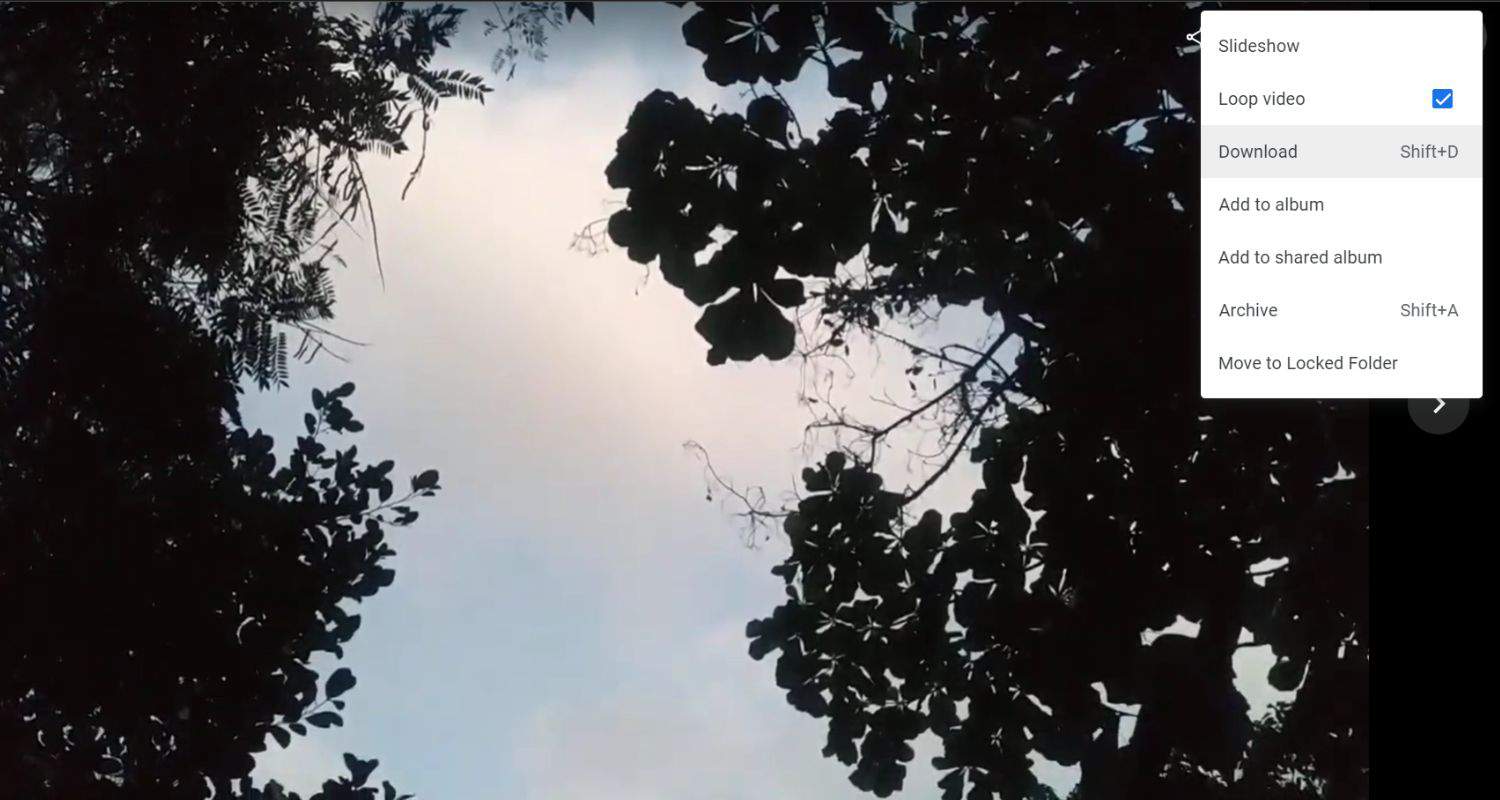
- Visit the application store and download the Google Photos application to your iPhone.
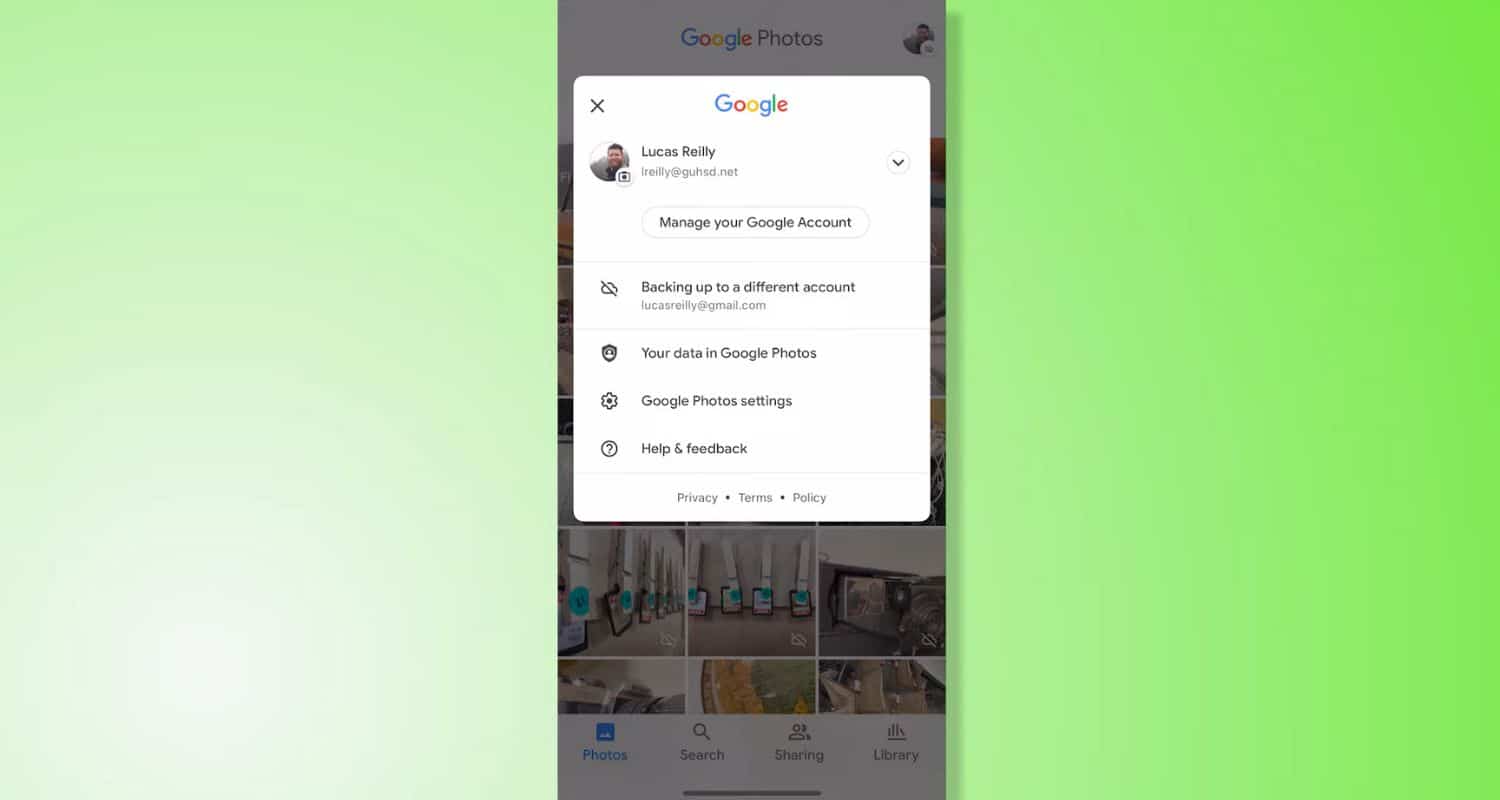
- Open the application using your Google account accreditations.
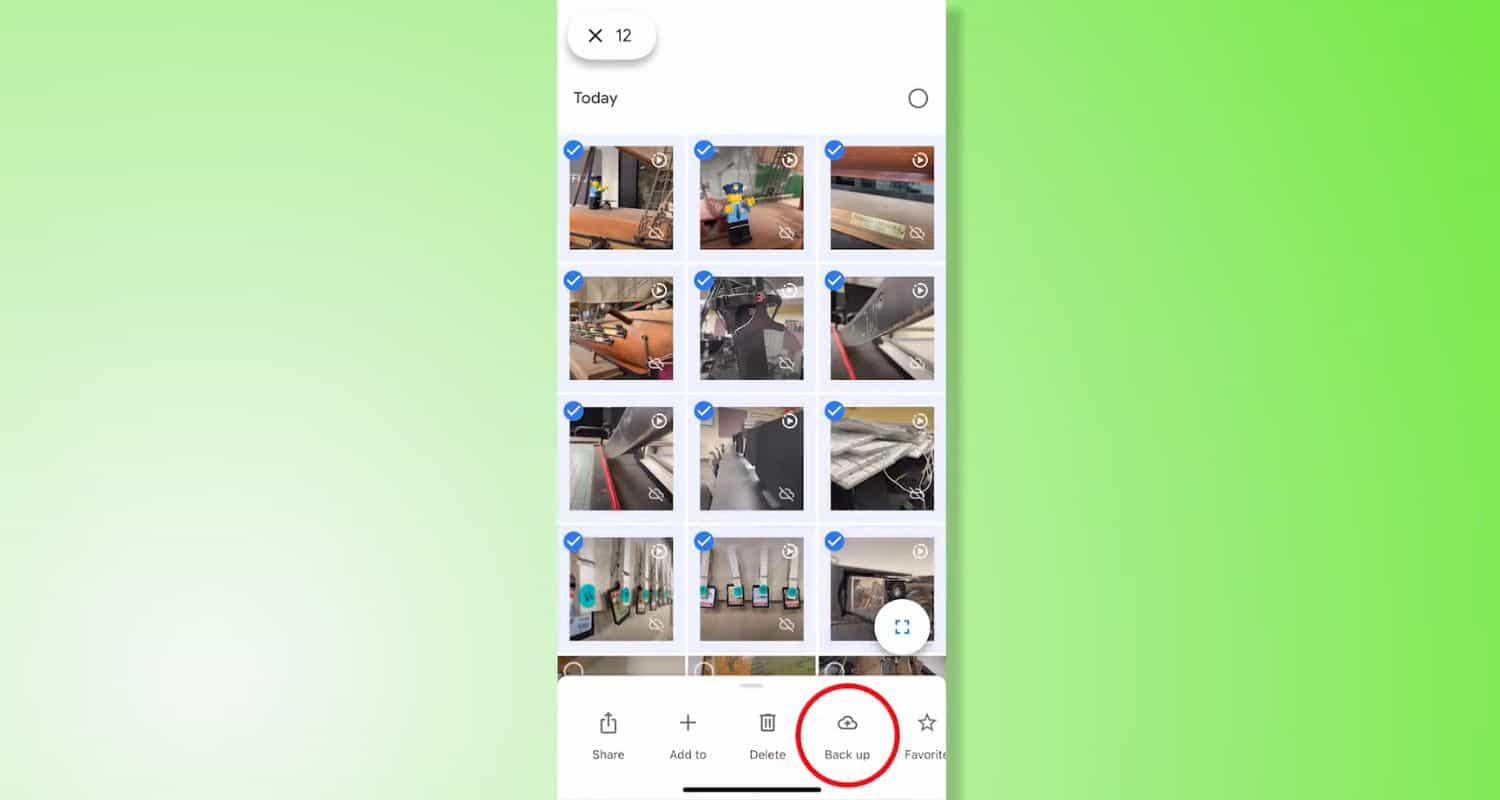
- Enable the “Backup & Sync” feature to automatically upload your iPhone photos to your linked Google account.
On Chromebook:
- Access Google Photos using the app or your web browser.

- Navigate to the synced photos within the Google Photos interface.
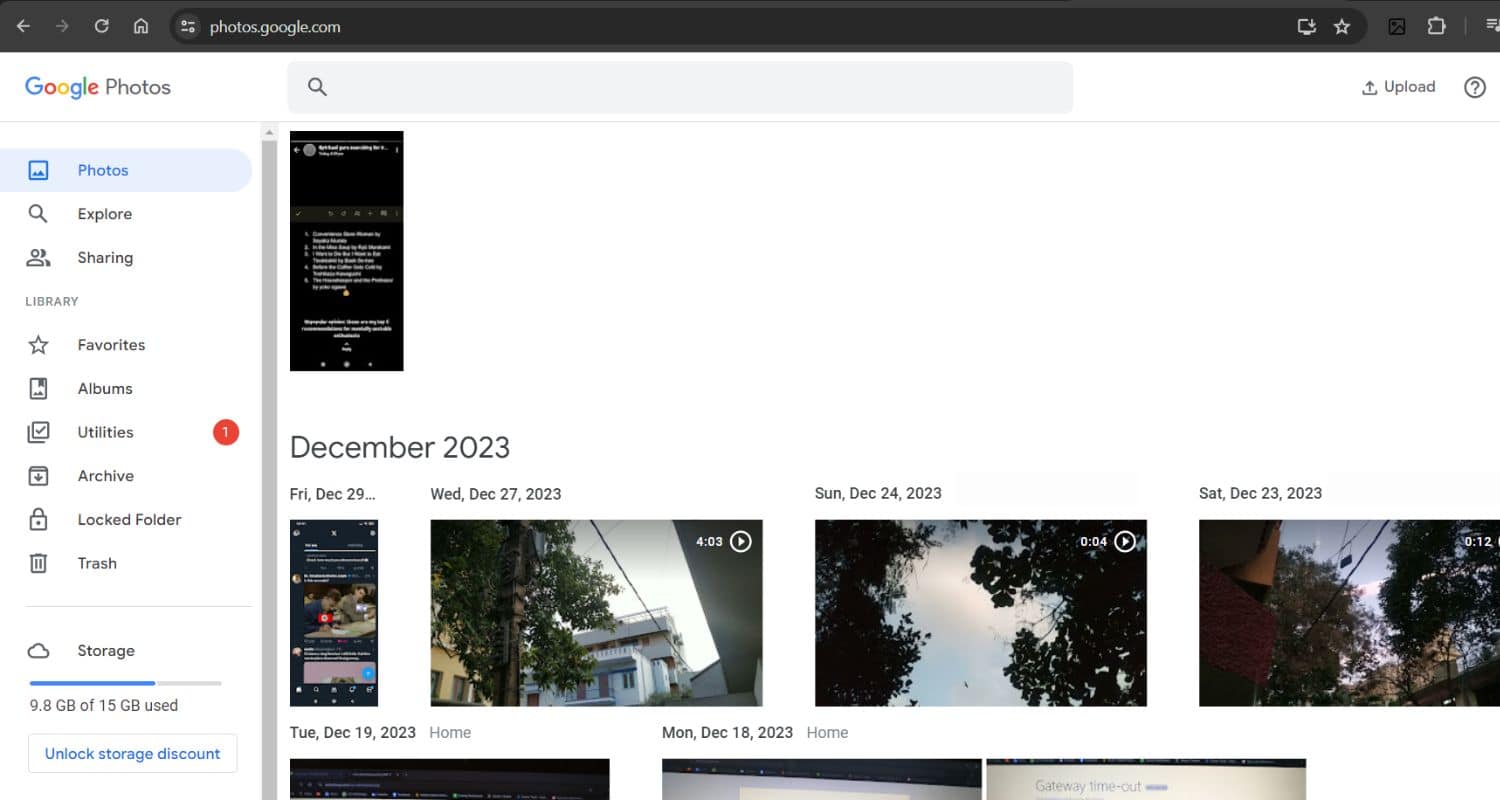
- Find the ideal photographs and download them to your Chromebook’s nearby stockpiling for disconnected access.
Also, explore if Google images are free to use.
Method 8: Via USB
Here are some easy steps to transfer photos from your iPhone to your Chromebook using a USB cable:
- Plug your iPhone into the Chromebook using a USB cable.

- If a prompt appears on your iPhone, tap ‘Trust’ or ‘Allow’ to permit the connection between your iPhone and Chromebook.

- Open the ‘Files’ app on your Chromebook. You’ll find your iPhone listed under ‘Devices.’

- Click on your iPhone’s name to see its contents. Look for the folder holding your photos, usually named ‘DCIM.’ Choose the photos you want and copy them into a Chromebook folder.

- Wait for the transfer to complete. The time it takes depends on how many and large the photos are. Once done, open the folder on your Chromebook where you copied the photos to ensure they’ve transferred correctly.

This way, you can manually move your iPhone photos to your Chromebook using a USB cable and the file system on your Chromebook. You can employ this method and even save Facebook videos to your iphone.
FAQs
How to upload photos from iPhone to Chromebook?
You can use Google Drive for wireless transfer. Install the app on your iPhone, upload pictures to Drive, and access them on your Chromebook. Alternatively, Google Photos or iCloud for Windows provides seamless options.
How to transfer photos from iPhone to Chromebook with USB?
Connect your iPhone to the Chromebook using a USB cable. Open the File Manager on the Chromebook, locate your iPhone, access the DCIM folder, select photos, and drag-and-drop them into a desired folder for a direct transfer.
How to transfer pictures from iPhone to Chromebook?
You can utilize strategies like Google Drive, Google Photos, or iCloud for Windows. These choices permit remote or link-based moves to your Chromebook.
How to download photos from iPhone to Chromebook?
You can download photos from your iPhone to your Chromebook using applications like Google Drive, Google Photos, or iCloud for Windows. Pick the application that is better for you, according to your convenience.
Conclusion
In conclusion, the query “How to transfer photos from iPhone to Chromebook” has several solutions. Discovering how to transfer photos from your iPhone to a Chromebook offers multiple avenues. Methods like AirDroid Personal, Google Drive, and ChromeOS Files leverage wireless connections, while FoneTool, iCloud, OneDrive, and Google Photos provide diverse transfer approaches. Additionally, utilizing a direct USB connection remains a reliable option. Exploring these eight methods empowers users to move their cherished memories from iPhone to Chromebook seamlessly.
See Also: Ten Easy Ways On How To Make Your Chromebook Faster

Sourabh Kulesh, Chief Sub Editor at Gadgets 360. and TechiePlus, writes technology news online with expertise on cybersecurity and consumer technology.
