This is for tech lovers and gamers; for those who love retro gaming, it is the origins of the gaming world. RetroPie Console is a new-age gaming console that lets you play retro games with marvellous controls.
RetroPie Console is not just any console. It uses Raspberry Pi, ODroid C1/C2, or your PC as a gaming console. And here is how you can start your journey to become the best RetroPie gamer. Using the setup listed below, you can become the coolest gamer:
How? To learn how to become a cool technician and a gamer, follow the simple steps that take you through the journey of using RetroPie Console.
See Also: The 9 Best Nintendo DS Emulator For PC
Contents
RetroPie Emulation Console: The Origins
RetroPie is a new age of gaming that brings retro gaming to life. It allows Rasberry Pi, ODroid C1/C2, or a PC to turn into a gaming console. Originally, RetroPie emulates games from various controllers and consoles, such as PlayStation and Nintendo.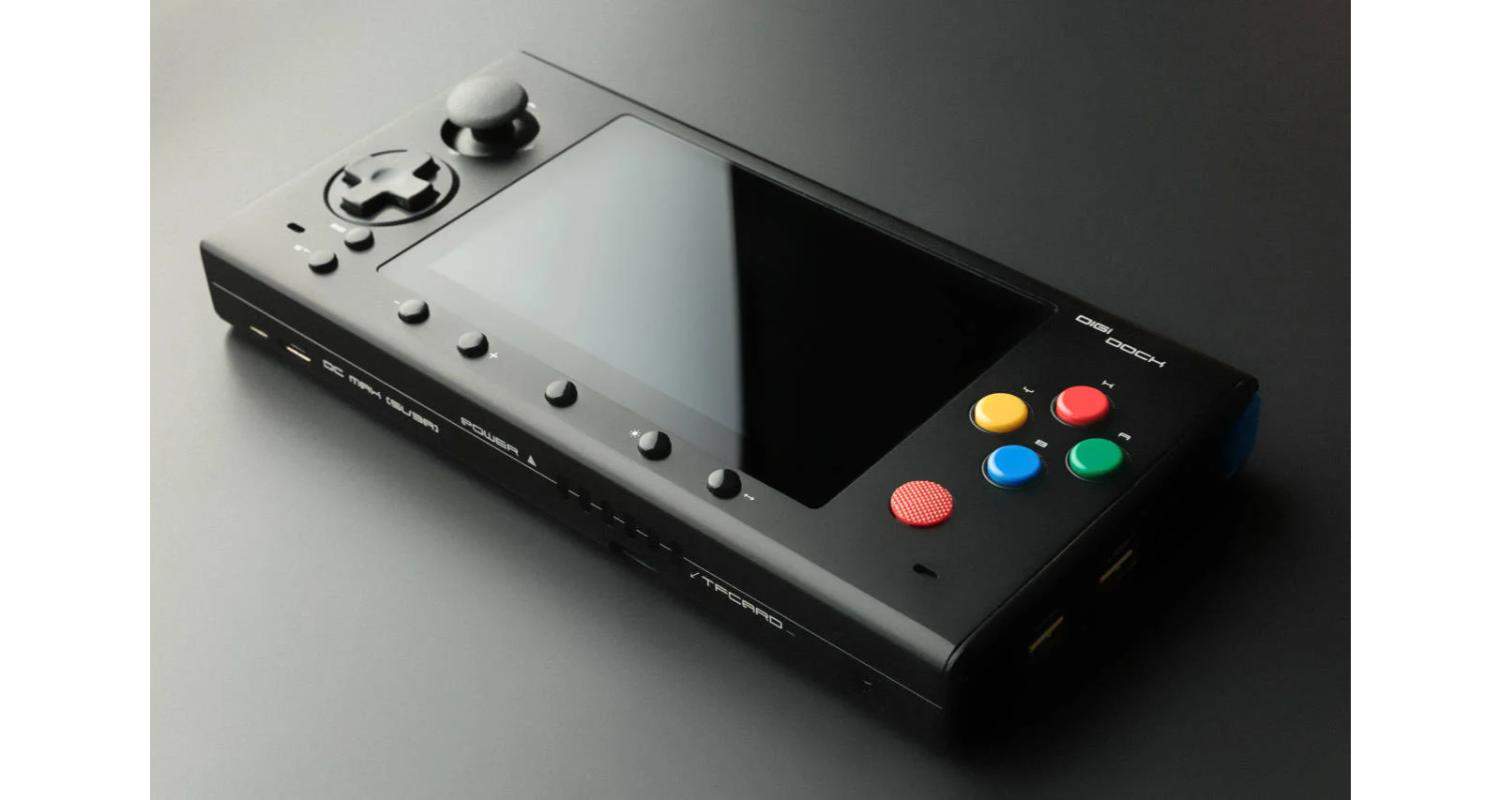
RetroPie began in 2012 by emulating various gaming consoles and platforms to retro style. Emulation included but was not limited to NES, SNES, Sega Genesis, Atari, PlayStation, and more.
RetroPie’s Main Features
RetroPie has many features that make it the best for emulating different consoles, platforms, and controllers. It is an easy-to-set-up console that uses Raspberry Pi, ODroid, and PC for emulation.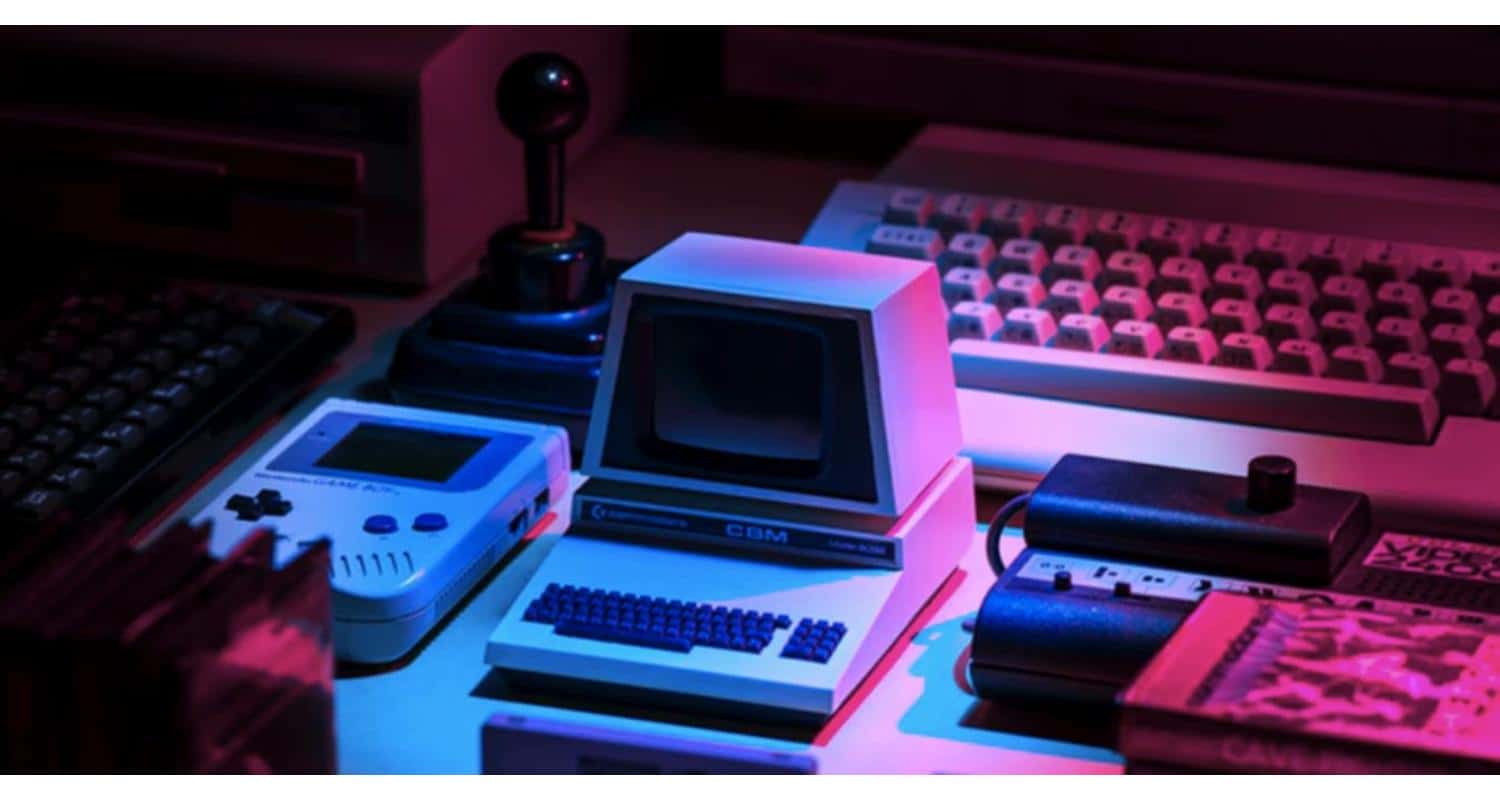
Some of the attractive features of RetroPie consoles are:
- Multi-Platform Emulation
- RetorPie uses various gaming platforms for emulation, such as NES, SNES, Sega Genesis, Atari, Playstation, and more.
- Compatibility with various SBC and PC
- It is compatible with multiple SBCs (single board computers) and PCs for operation and gaming.
- Customization of Appearances and Main Screen
- To make gaming more personalized, RetroPie allows you to select and personalize the looks of your main screen.
- Supports Gamepads and Controller System
- Gaming without a controller is just not fun, right? With RetroPie, you dont have to worry about using a gaming pad or a controller. It is compatible with all and every type of controller and gaming pad.
- Supports Connection with Bluetooth, WiFi, and USB
- RetroPie’s OS may not be smart. But RetroPie can connect through and to WiFI, Bluetooth, and USB.
- Active Community Support
- If you ever face a problem using RetroPie, its active community engagement will guide you through any issues you may encounter.
- Whether you are looking for solutions to connectivity or software issues, RetroPie’s community will help you through every step of difficulty.
- Preservation of Retro Games
-
- The last and most important fact is that RetroPie preserves retro-styled gaming. It also brings out the good old days of gaming.
Setting Up Your RetroPie Console
The First Step: Prerequisites
Before setting up RetroPie, there are a few prerequisites: having a RetroPie kit, Raspberry Pi, a memory card, a PC, and games you want to emulate. Once you have this setup, it’s pretty simple to configure and install RetroPie to your Raspberry Pi and connect it to your PC.
The Second Step: Download and install RetroPie OS into your PC
In your search engine, search for RetroPie. Open the official website and head on to their downloads section. Or, you need to enter their official website to find the downloads section on their search engine. 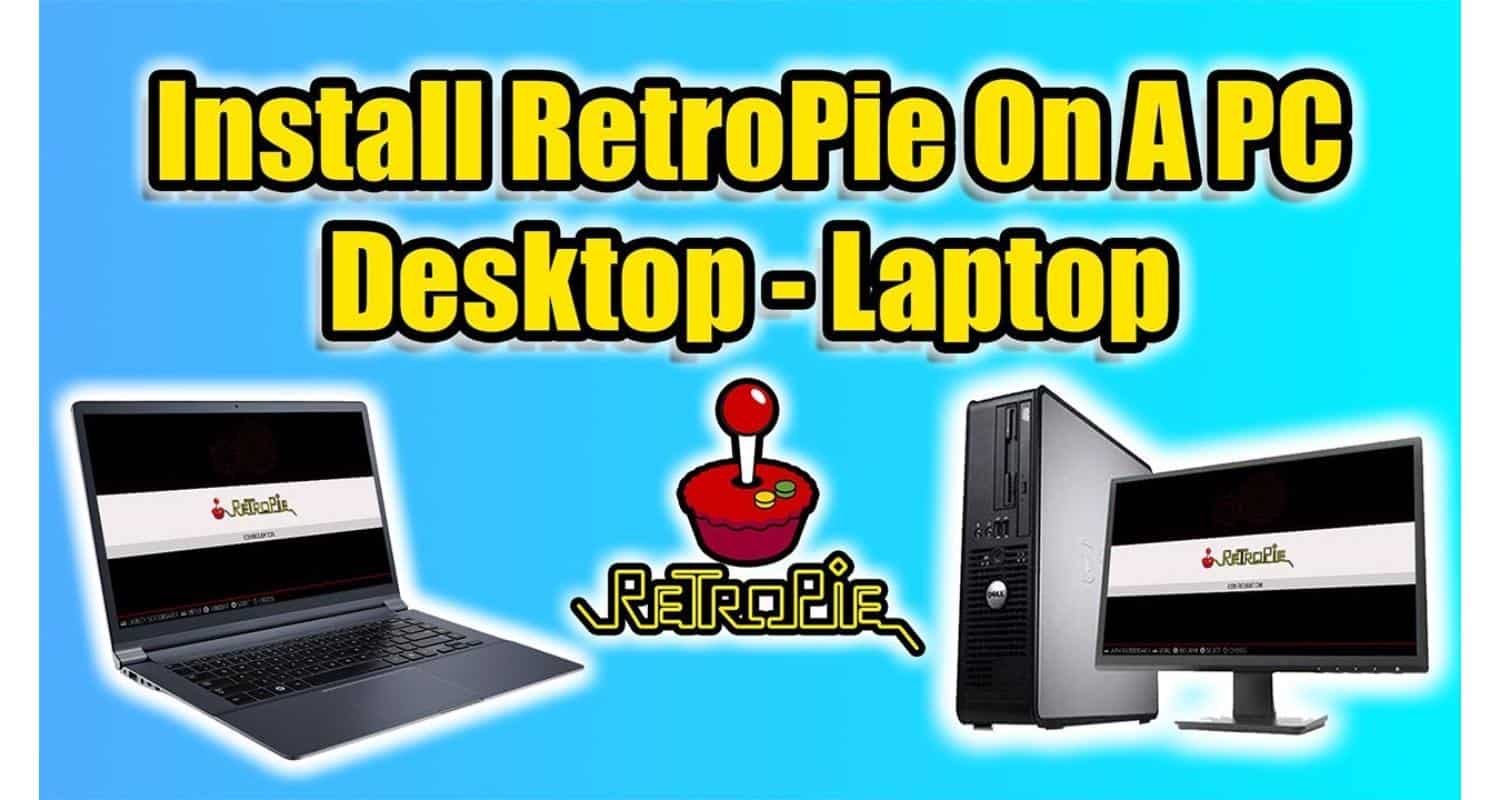
After you enter the downloads section, there are three options:
- Raspberry Pi 1/Zero
- Raspberry Pi 2/3/Zero 2 W
- Raspberry Pi 4/400
Depending on your version of Raspberry Pi, download the required version of RetroPie.
The Third Step: Installing the Setup on Your Memory Card
After installing the setup file, connect your memory card to your PC. A memory card with a good amount of memory is preferred because games will be installed on this memory card and will be connected to your Raspberry Pi.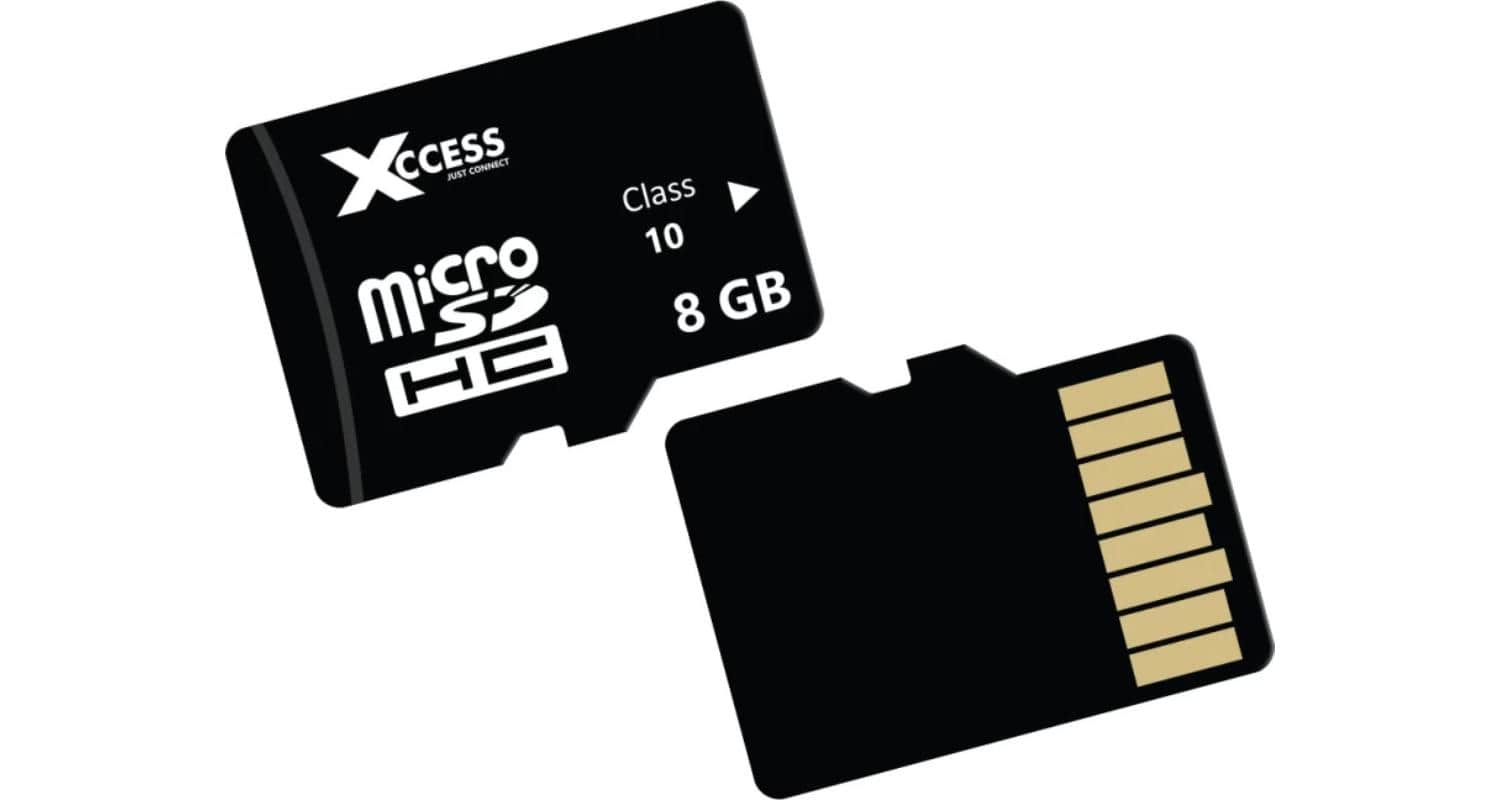
Once the memory card is connected, start the installation process. Select the right OS system; for Windows OS, it will be Windows, and similarly for other OS.
After the setup is done, RetroPie will be installed on your memory card.
The fourth step: Starting RetroPie using Raspberry Pi
Setting up your Raspberry Pi is simple. Plug the necessary power cables, plug in your memory card, connect your Raspberry Pi to your PC, and connect the console. This memory card will be used to store your games. 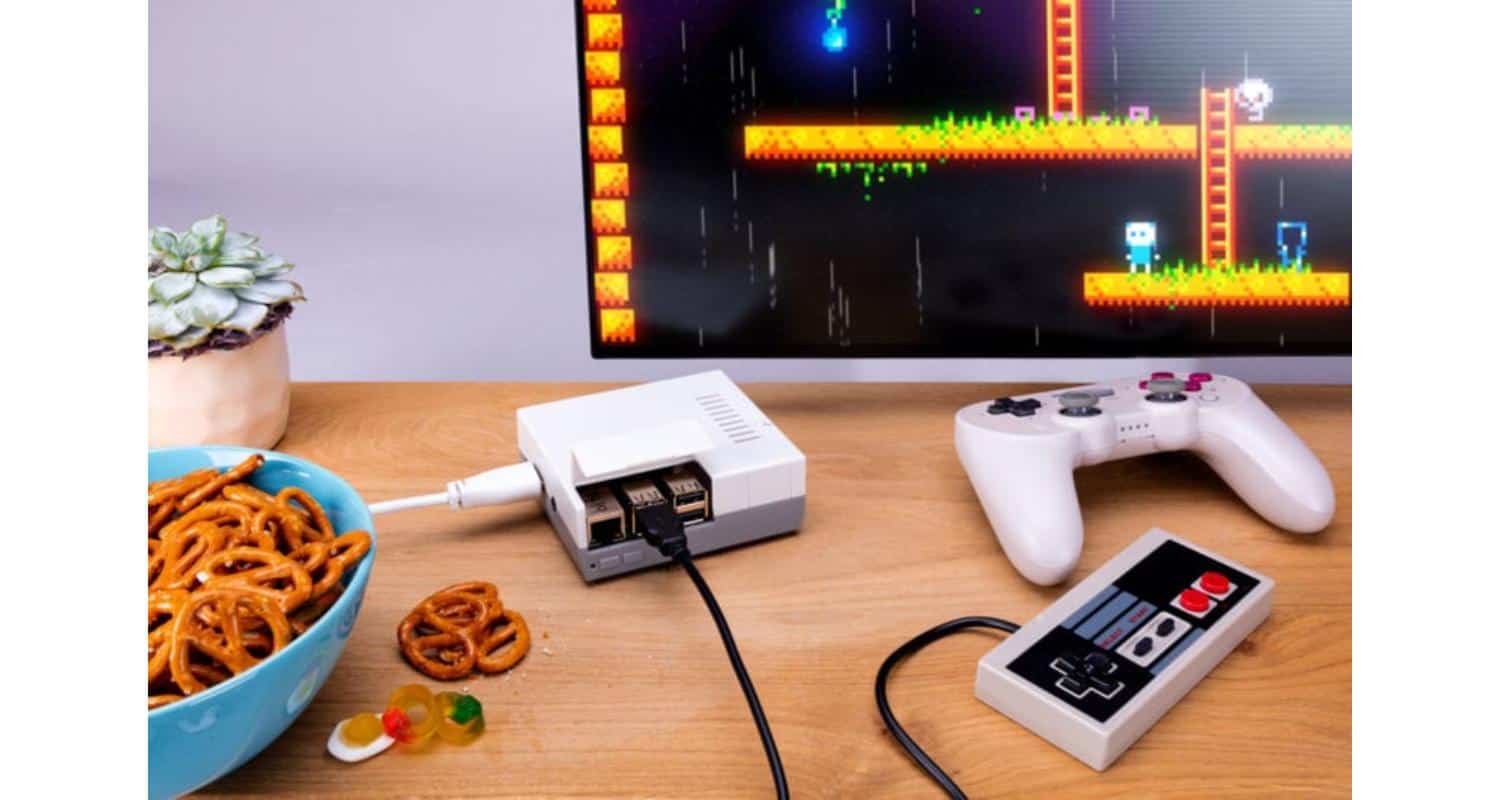
After this step, set up your gaming console settings and install the games you want to emulate. Select the game you want and have the retro-style game in your pockets.
Supported Systems on RetroPie
RetroPie supports various systems. With a growth in demand for RetroPie-loaded games, it has expanded its support systems. Limited to not only Raspberry Pi, RetroPie has some of the newest and most used support systems. Some of these systems are:
Atari:
- Atari 2600
- Atari 5200
- Atari 7800
- Atari Lynx
Nintendo:
- Nintendo Entertainment System (NES)
- Super Nintendo Entertainment System (SNES)
- Nintendo 64 (N64)
- Game Boy
- Game Boy Color
- Game Boy Advance
Sega:
- Sega Master System
- Sega Genesis/Mega Drive
- Sega Game Gear
- Sega CD
- Sega 32X
- Sega Dreamcast (experimental)
Sony:
- PlayStation (PSX)
- PSP (experimental)
Microsoft:
- MS-DOS (experimental)
Arcade Systems:
- Multiple arcade machine emulators (MAME)
- FinalBurn Alpha (FBA)
- Neo Geo
Other Consoles:
- TurboGrafx-16 / PC Engine
- SuperGrafx
- Neo Geo Pocket (Color)
- Wonderswan (Color)
- Vectrex
- Intellivision
- ColecoVision
- Odyssey²
Handhelds:
- Bandai WonderSwan
- Neo Geo Pocket (Color)
Computers:
- Amiga
- Amstrad CPC
- Apple II
- Atari ST
- Commodore 64
- Tandy TRS-80
- ZX Spectrum
3DO Interactive Multiplayer (experimental)
ResidualVM (for some LucasArts adventure games)
Buying a RetroPie Console on Amazon
Setting up your RetroPie with your PC is simple. However, you will need some prerequisites to build your retro-styled gaming console. Here is a list of the items that you need before you start your retro-style gaming:
- Raspberry Pi
- PC
- Memory Card for Installing Games.
- RetroPie Setup
- Consoles
This part will cover the consoles that can be used with RetroPie. Though many consoles can be used with RetroPie, these are the ones you will complete your gaming setup. Many setups include a Raspberry Pi board, memory cards with games, USB connectors, and power cables.
Geeeki Raspberry Pi has started a kit that includes all the essential items you need to start. It has a Raspberry Pi 4 case, Raspberry Pi 18W 5V 3.6A Power Supply with an On/Off switch, and HDMI cables.
Sonicon provides microSD cards with preloaded games from NEs, SNES, Seg, Atari, Arcade, Mame, Genesis, and N64. So, if you are a beginner, this is a good start.
If you are looking for vintage-styled gaming consoles, iNNEXT gives some of the best vintage gaming controllers.
Customizing Your RetroPie Experience
Using RetroPie will give them the same old experience with games without anything new in them. But RetroPie breaks every misconception about retro gaming.
Their superior coding takes retro gaming to another level, enabling customizing your gaming interface, installing games you want, and much more. Here is the list of customizations that have simple yet personal effects. 
- Custom Themes
- Custom Game Collection
- Screensaver and Attract Mode
- Controller Configuration
- Game Metadata
- Custom Splash Screens
- Save Stats and Load Stats
- RetroAchievements Integration
- Dynamic Wallpapers
- Experiment with RetroArch Settings
- Custom Scripts and Tools
- Connectivity Options
- Community Forums and Resources
- Experiment and Tinker
RetroPie’s personal yet simple customization makes the gaming experience more fun, captivating, and interesting. RetroPie allows you to explore the vintage gaming world in a new yet classic style like never before.
RetroPie VS Other Retro Gaming Systems
Many other RetroPie gaming consoles emulate games using Raspberry Pi or PC. They also connect with gaming consoles and other connectivity applications.
RetroPie is a highly customizable platform that emulates games. It uses various operating consoles and is highly compatible with many connecting applications.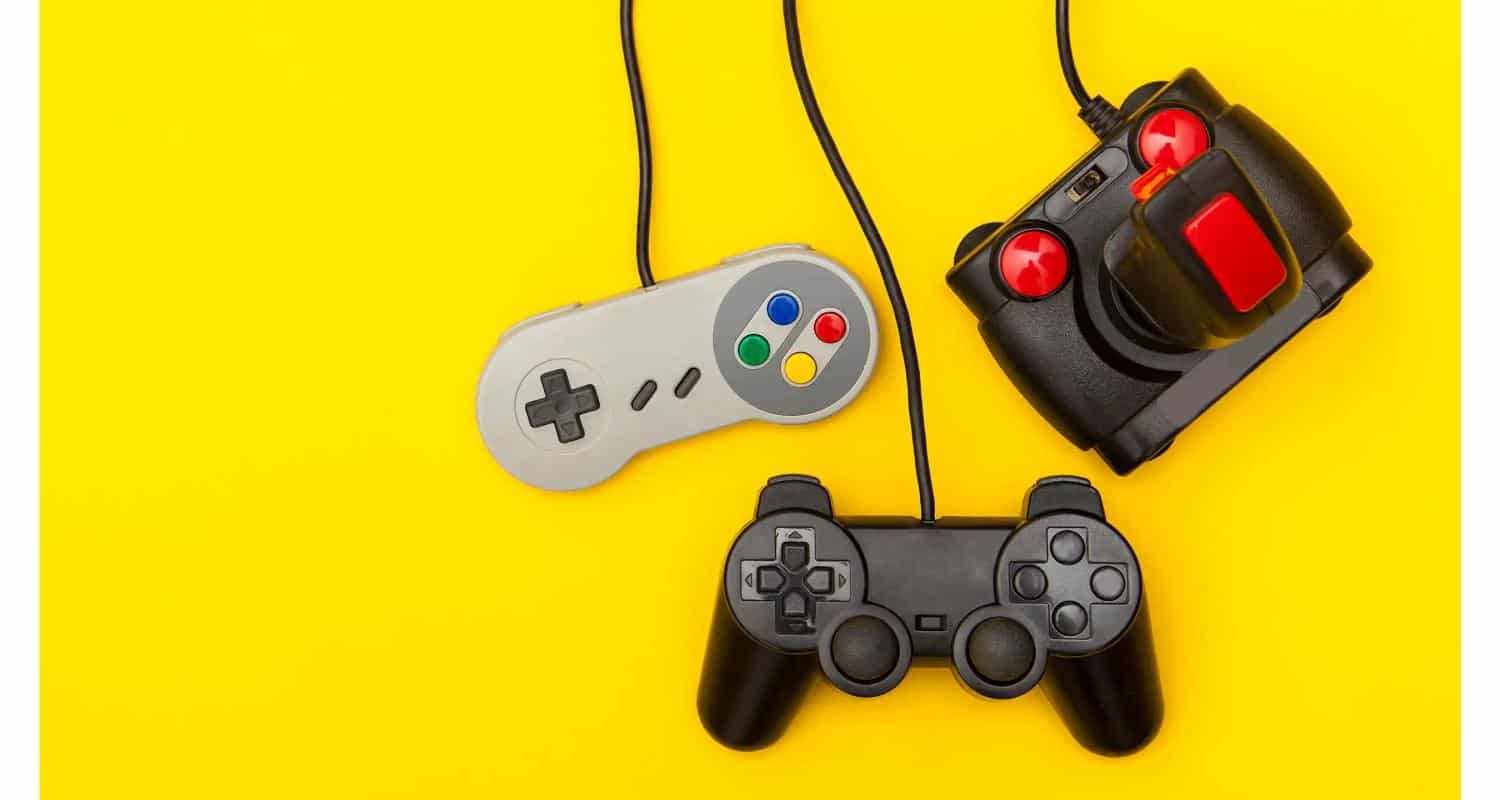
Here are a few consoles similar to RetroPie:
The first console is Recallbox. Recallbox is a beginner’s console. It has few customization options and can be used with various platforms. With its easy-to-setup interface, Recallbox offers great community support.
The second console is Lakka. Lakka is built to run on various but limited platforms. Though it has customization options, some of the features of Lakka need to be explained. It uses a RetroArch interface, making it a familiar console.
FAQs
How do I play games using a gaming pad or controller?
Connecting your USB to the system will work using a Raspberry Pi module. If you are using Bluetooth connectivity, connecting it to your PC is enough.
Is RetroPie the best option to buy?
Considering every pro and con of other operators, ReatroPie has an easy setup and numerous choices for customization, emulation, and community support.
Can I play any game with RetroPIe?
The list of playable games is listed above.
Are there any options other than RetroPie?
There are two available options other than RetroPie. Both give different interfaces and have different specifications.
Conclusion
The changing world, the virtual reality, and the gaming world have been evolving. And vintage games are becoming history. With RetroPie console, you can play new-age games with retro-styled appearances.
The importance of retro games plays a crucial role. Retro games were what connected us with the birth of gaming.
See Also: Nintendo 64 Not Working On Smart TV? Here’s How To Fix It

Meet Nick Pino, our Senior Editor of Home Entertainment at TechiePlus, covering TVs, headphones, speakers, video games, VR, and streaming devices.
