
Our system often does not work correctly due to many errors that can lead to broken and unstable systems. Often it leads to the inability to install software packages, update or upgrade the software. Which ultimately prevents you from accessing your system. Some easy methods can help you to repair open two operating systems quickly.
One highly used way to repair your Ubuntu operating system is to reinstall it immediately, which may lead to losing your precious file and applications. Instead of reinstalling your Ubuntu operating system, there are some other paths that you can take to fix your OS. Sometimes you may receive this error notification like Could not get lock /var/lib/dpkg/lock. Unlike Windows, Ubuntu OS doesn’t offer safe mode or automatic repair tools. The most recommended way to Repair Ubuntu Easily is by using the Ubuntu CD.
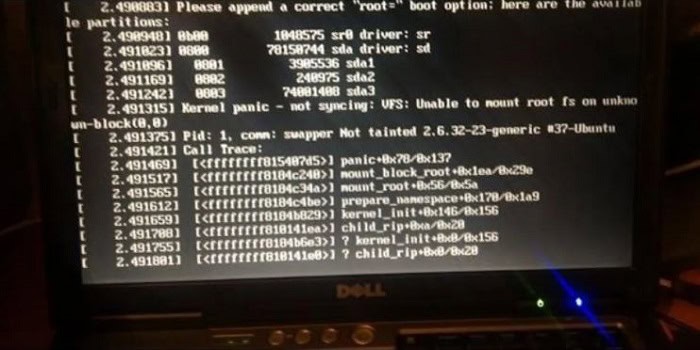
This usually happens due to a power cut or when you press ctrl + c that, causes an interrupted update or upgrades process. This error does not allow you to install any package and does not even allow you to update or upgrade your system. In this article, you will learn how to repair Ubuntu quickly.
See also: 10 Best Linux For Old Laptop In 2024
Contents
- 1 You Can Repair Ubuntu Easily in Two Ways
- 2 Other Alternative Method To Repair Ubuntu Easily
- 3 FAQs
- 3.1 What should I do if an update breaks my Ubuntu system?
- 3.2 How can I fix a corrupted Ubuntu file system?
- 3.3 How might I retrieve a lost Ubuntu password?
- 3.4 How can I identify and fix a booting problem with my Ubuntu system?
- 3.5 How do I repair Ubuntu's blank screen after logging in?
- 3.6 In Ubuntu, how can I fix a damaged package?
- 4 Conclusion
You Can Repair Ubuntu Easily in Two Ways
The Graphical Way
Repair Ubuntu Easily graphically using the CD following steps are written below:
STEP 1
After inserting your Ubuntu CD, reboot your computer and configure it in the BIOS to boot from the CD and boot into a live session. If you created a LiveUSB, you could also use a LiveUSB.
STEP 2
Now install and run the Boot repair.
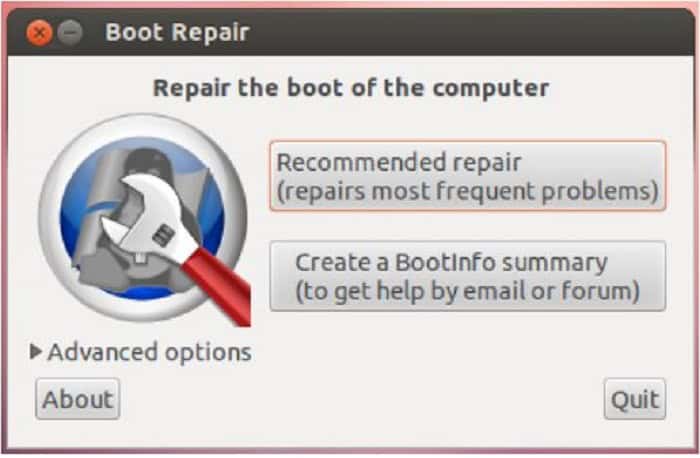
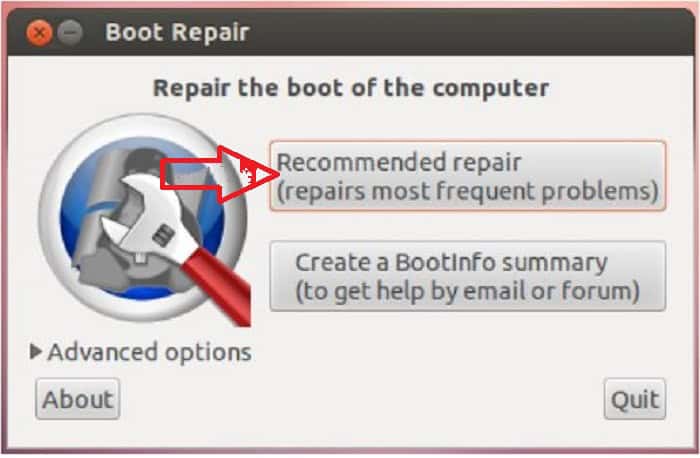
STEP 3
Now click on the “Recommended repair” option.
STEP 4
Now restart your computer. The usual GRUB boot menu will appear. Otherwise, hold down the Left Shift key while booting. You can then easily choose between Ubuntu and Windows. And can Repair Ubuntu Easily.
See also: 10 Best Driver Updater Software To Use In 2024
The Terminal Way
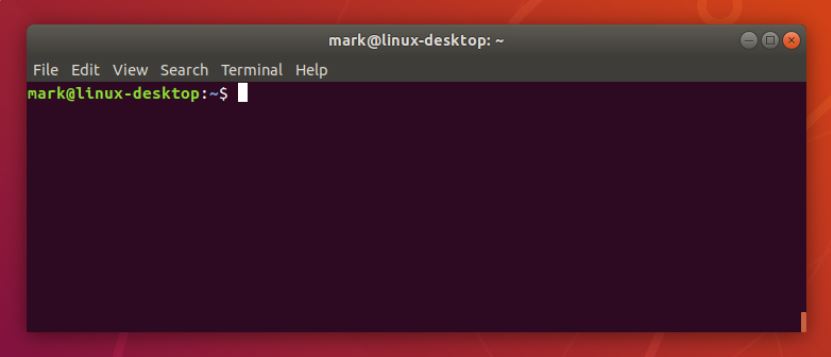
STEP 1
Open a terminal. For Ubuntu versions 11.10 and 11.04, this can be done by opening Unity Dash. You can either click on the Ubuntu icon in the top panel or use the Windows key on your keyboard and type “Terminal” “and click on the content. You can do this on earlier versions by going to Applications> Accessories> Terminal. Alternative shortcut: CTRL ALT T.
STEP 2
For details on using the terminal to fix problematic drive errors from DVD or live to install Flash, you can go to this link :
https://help.ubuntu.com/community/Grub2/Installing#via_the_LiveCD_terminal
Other Alternative Method To Repair Ubuntu Easily
Booting Into Boot Recovery
STEP 1
When starting the Ubuntu PC, hold down the Shift key.
STEP 2
The GRUB menu will open. Select the “Advanced Options” entry.
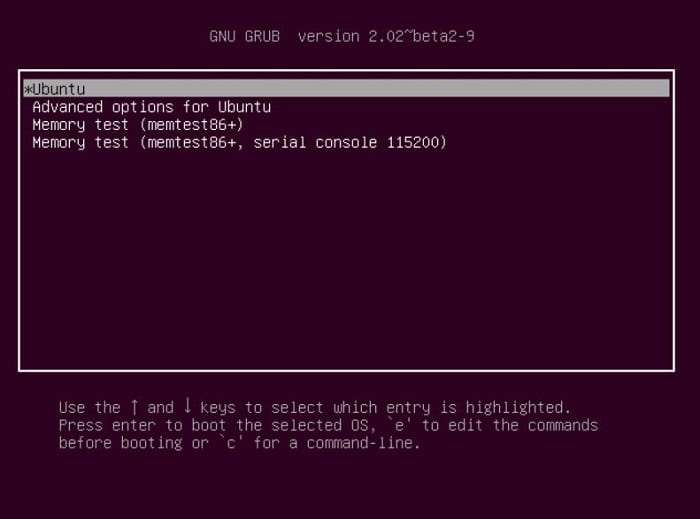
STEP 3
It may be in second place. From there, you will see several different kernel options.
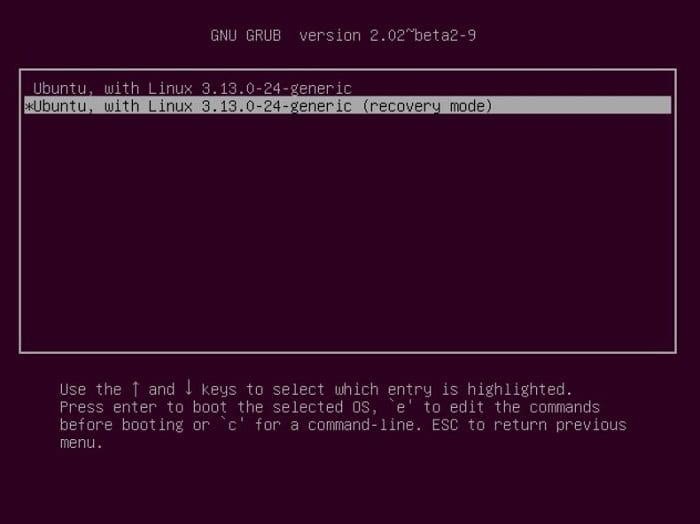
STEP 4
Each below will be an identical entry with (recovery mode) at the end.

STEP 5
Select the restored entry of the latest kernel.
STEP 6
The menu will change to show multiple recovery options, and from the start of the recovery, it will only start the computer usually.
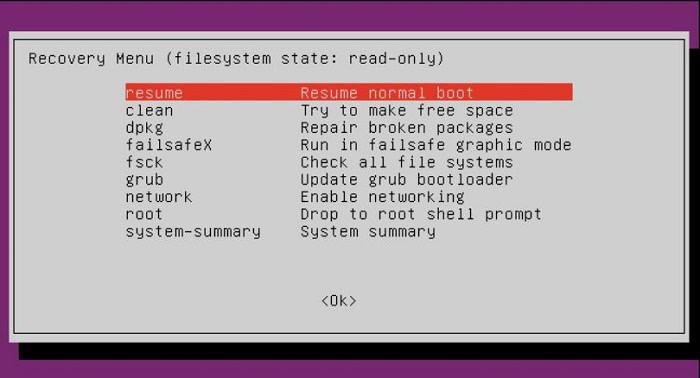
STEP 7
Other options provide several tools that allow you to troubleshoot common startup problems manually.
STEP 8
You can repair or reinstall GRUB to fix bootloader-related problems.
STEP 9
There will be any issues with the computer starting typically, but once you try to start Ubuntu, it will crash or crash. It may even appear as a message that the kernel cannot be found.
STEP 10
The dpkg option allows you to try to reconfigure or delete corrupted packages that prevent the system from starting correctly. It will automatically check for updates and try to detect any possible way to clean up your system.
Follow the fixes as mentioned earlier carefully and Repair Ubuntu Easily.
FAQs
What should I do if an update breaks my Ubuntu system?
Updates can occasionally result in problems. You can try booting into an earlier kernel version from the GRUB menu to try to repair an Ubuntu system that has broken following an update. If that doesn't work, you might need to restore from a backup or use Timeshift (if it's configured) to do a system rollback. In dire circumstances, you might have to reinstall Ubuntu.
How can I fix a corrupted Ubuntu file system?
The 'fsck' command (file system check) can fix a faulty file system. Additionally, start a terminal, boot into a Live USB or Live CD, and type 'sudo fsck /dev/sdXY,' where '/dev/sdXY' is the partition holding the damaged file system. Change 'XY' to the proper partition number (e.g., sda1), where 'XY' stands for 'XY.'
How might I retrieve a lost Ubuntu password?
You can reset an Ubuntu password by accessing the GRUB menu during bootup (while holding down the Shift key). Additionally, pick 'root' to enter a root shell and use the 'passwd' command to change the password for your user account.
How can I identify and fix a booting problem with my Ubuntu system?
If your computer doesn't boot, try starting it in recovery mode and looking through the system logs for errors. '/var/log/syslog,' '/var/log/dmesg,' and '/var/log/boot.log' should all be checked. Moreover, driver issues, disk faults, or kernel-related issues are frequent causes of boot-related problems.
How do I repair Ubuntu's blank screen after logging in?
Several difficulties, including faults with the graphics driver or incorrect display settings, may bring on a black screen after logging in. Try booting in recovery mode and updating or reinstalling your graphics drivers to troubleshoot. Using the 'xrandr' command, you can also reset your display's settings.
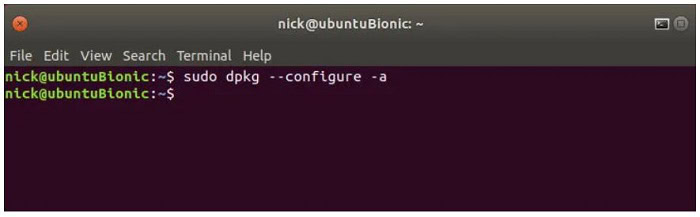
In Ubuntu, how can I fix a damaged package?
To fix a damaged package, launch a terminal and type: ``` sudo apt update sudo apt --fix-broken install sudo dpkg --configure -a ``` This will update the package information, attempt to fix broken dependencies and configure any partially installed packages.
Conclusion
After I followed these steps, all the data in my Ubuntu system were intact, and everything was the same way I left it. This small tip saved me a few minutes from reinstalling my Ubuntu system from scratch.
I hope this article Repair Ubuntu Easily will be helpful to you. Please let me know in the comment section if you know any other way.

Introducing TechiePlus’s all-in-one Editor, Olivia, based in London. From headphones to music streaming, she’s got you covered.